This sample workflow shows how you create a new Localiji document, edit App Store Connect attributes in and outside of Localiji, export files for external translation services and upload changes again to App Store Connect.
Setup
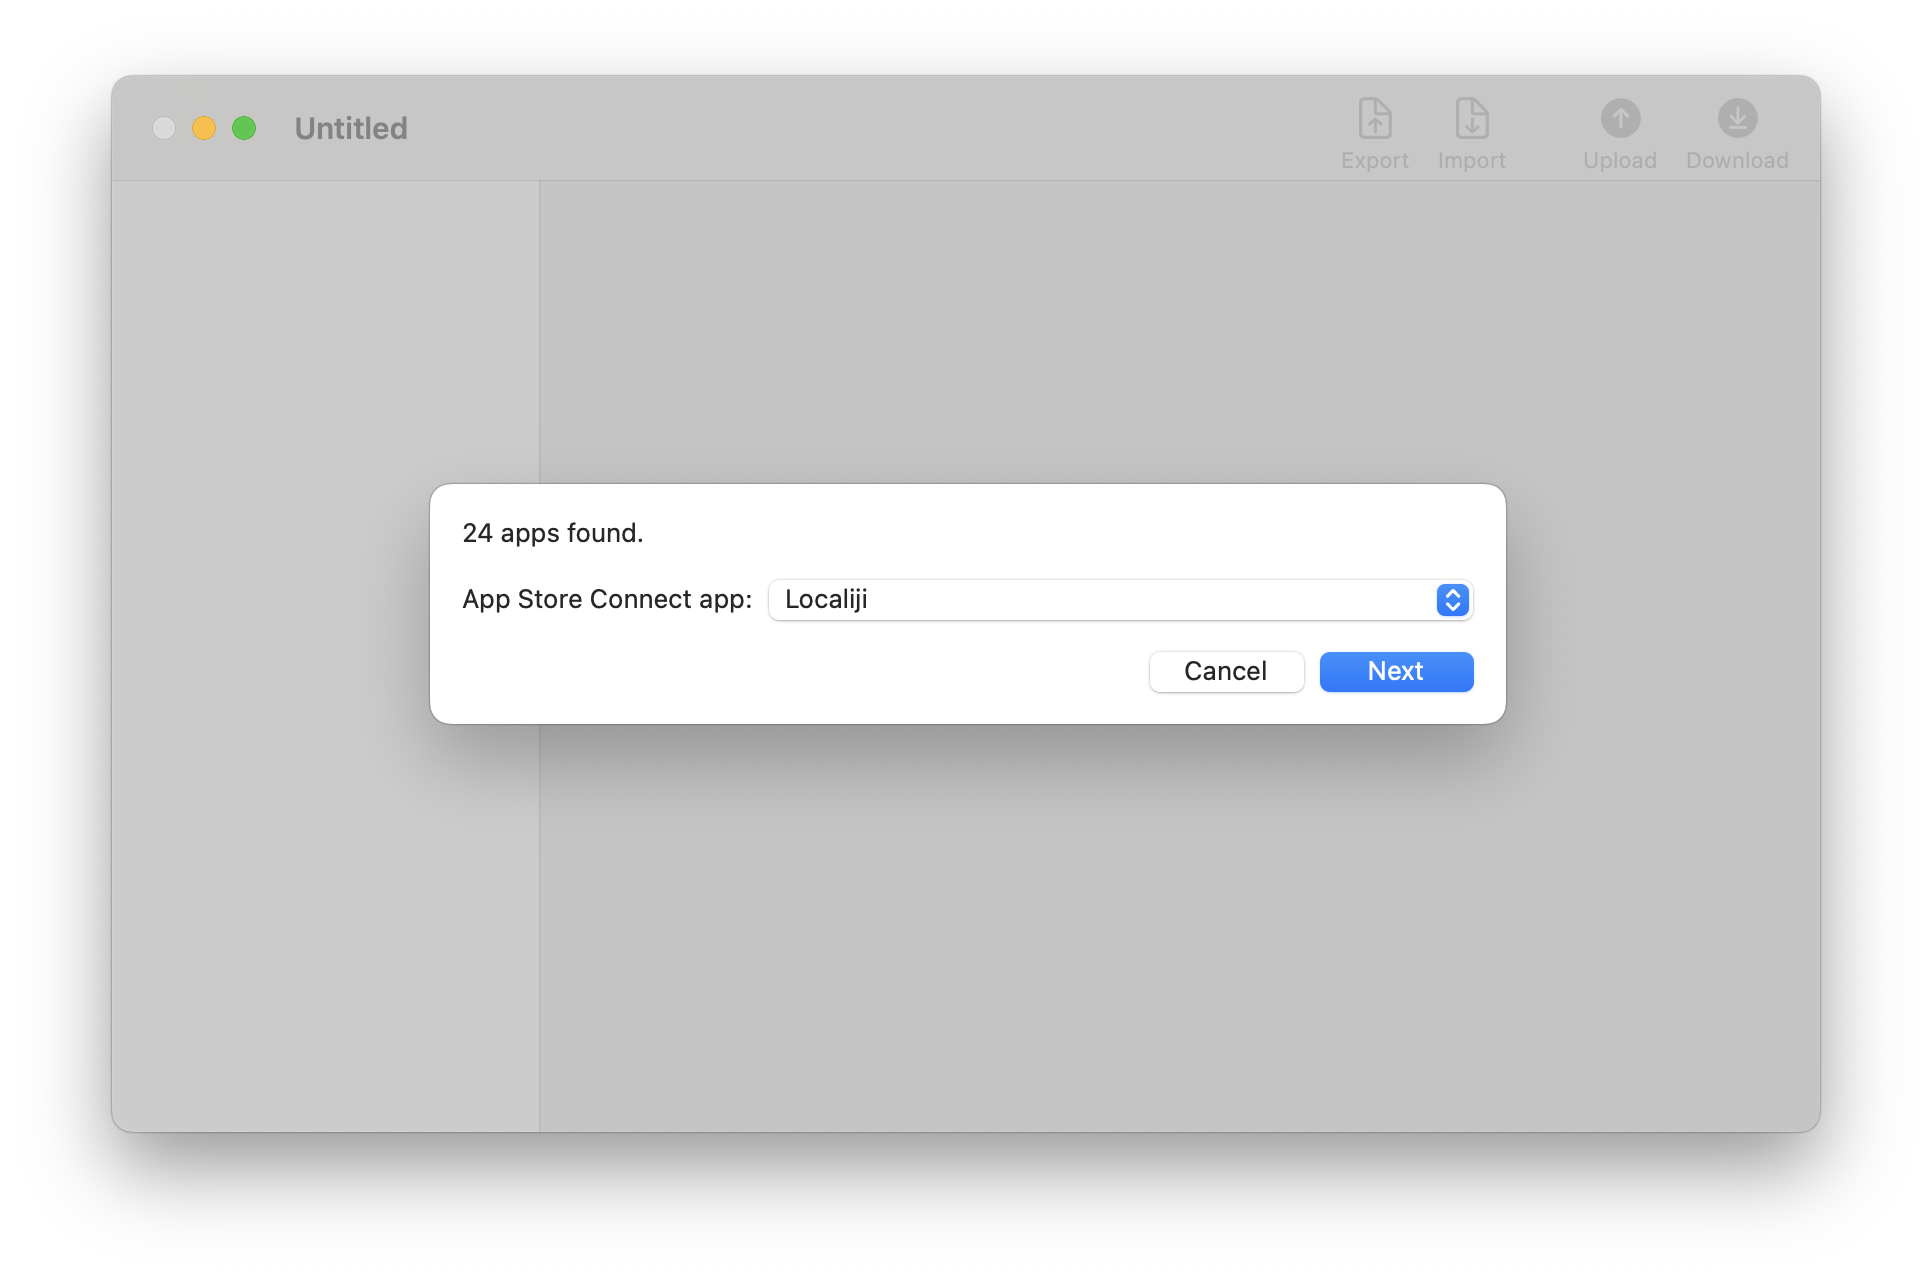
Create a new Localiji document by selecting File > New… and then the app registered in App Store Connect that you want to load.
Click Next.
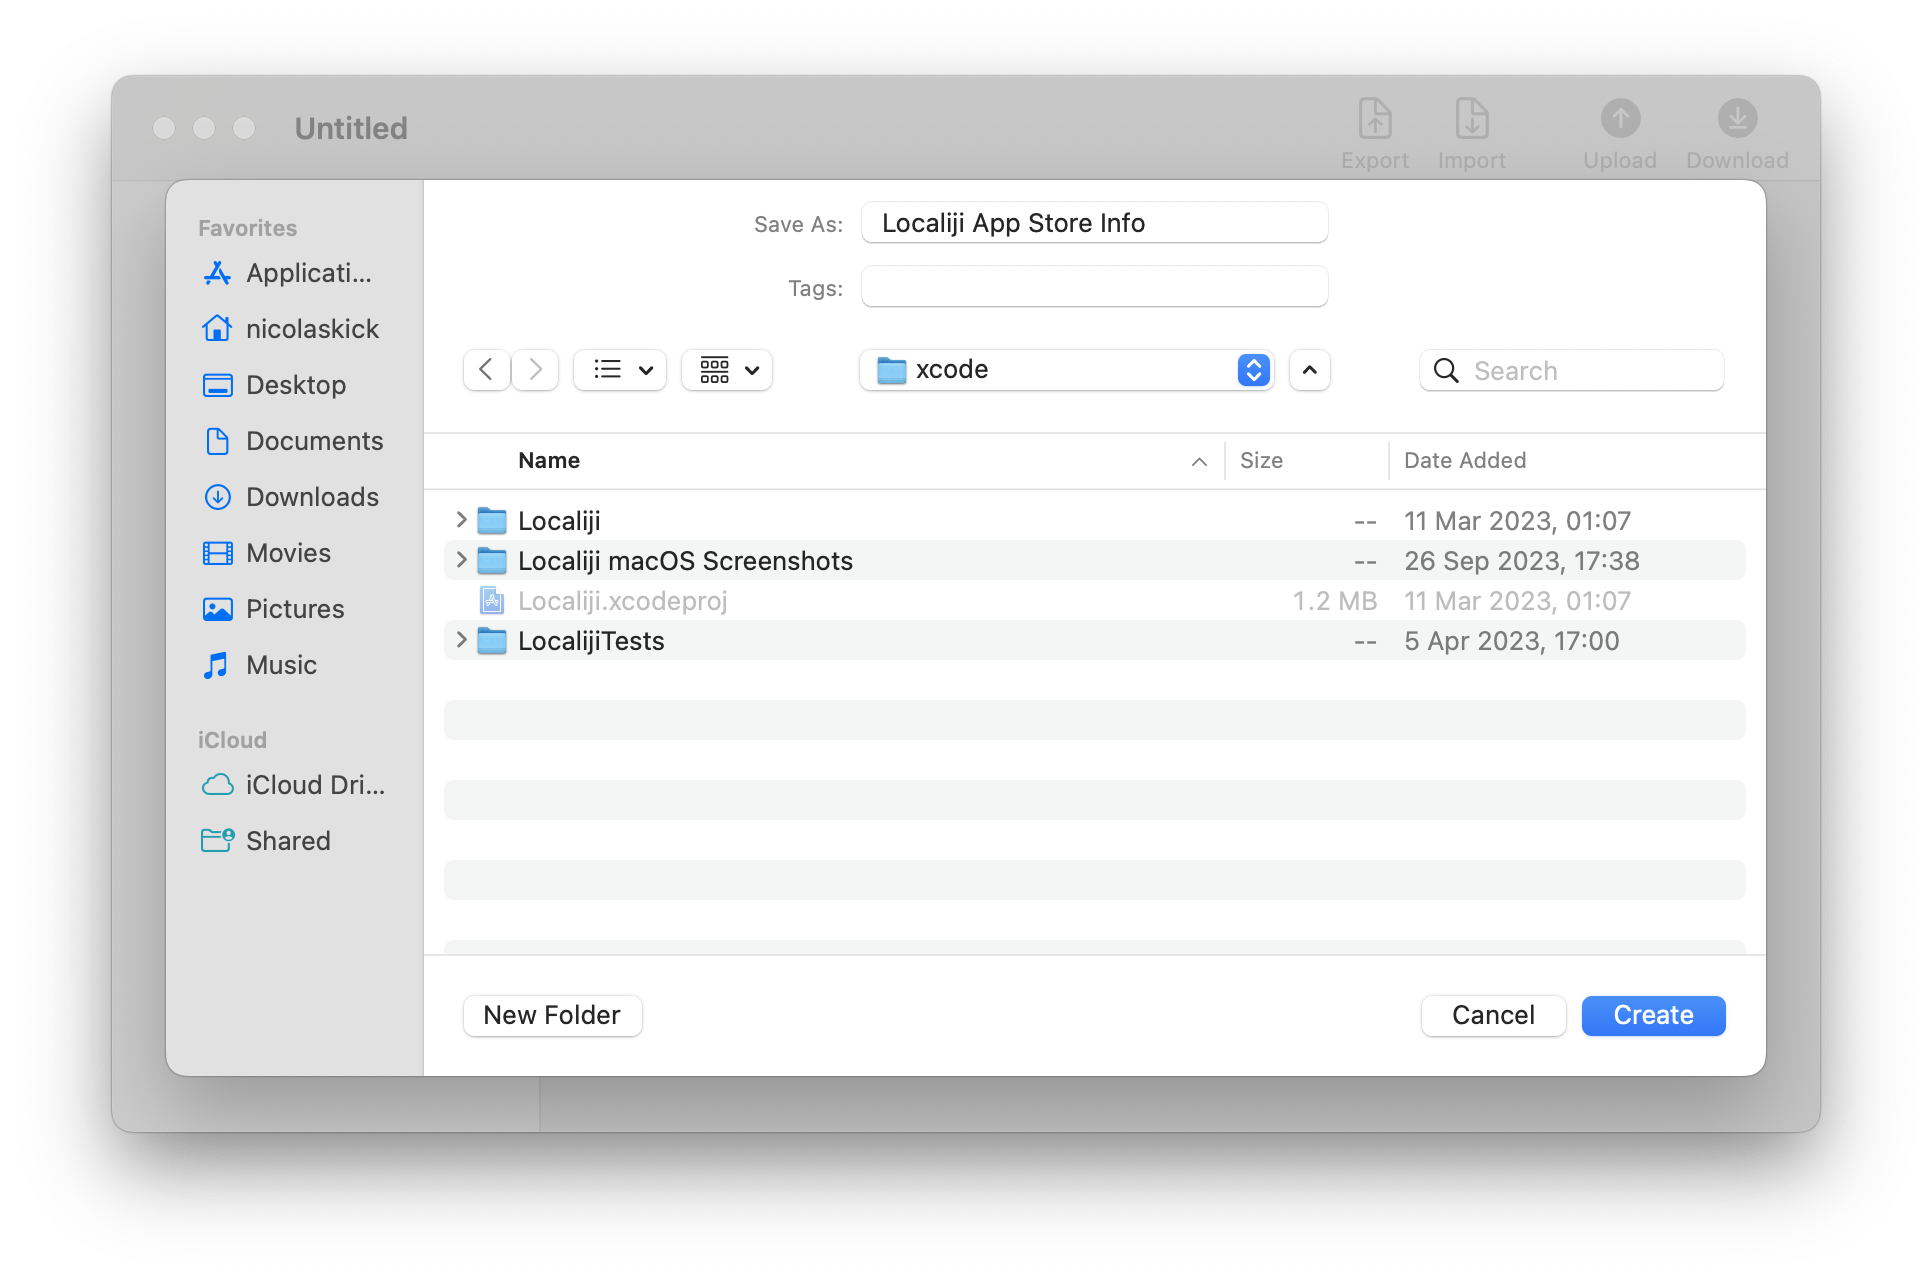
Select where you want to save the Localiji document.
It is recommended that you save it along your Xcode project, so that if you have version control enabled for it, the Localiji document will be versioned as well. In any case, putting the Localiji document under version control will not only allow you to restore previous state if necessary, but also to check if the import of localized files worked as you expected (more about the import process later).
Click Create.
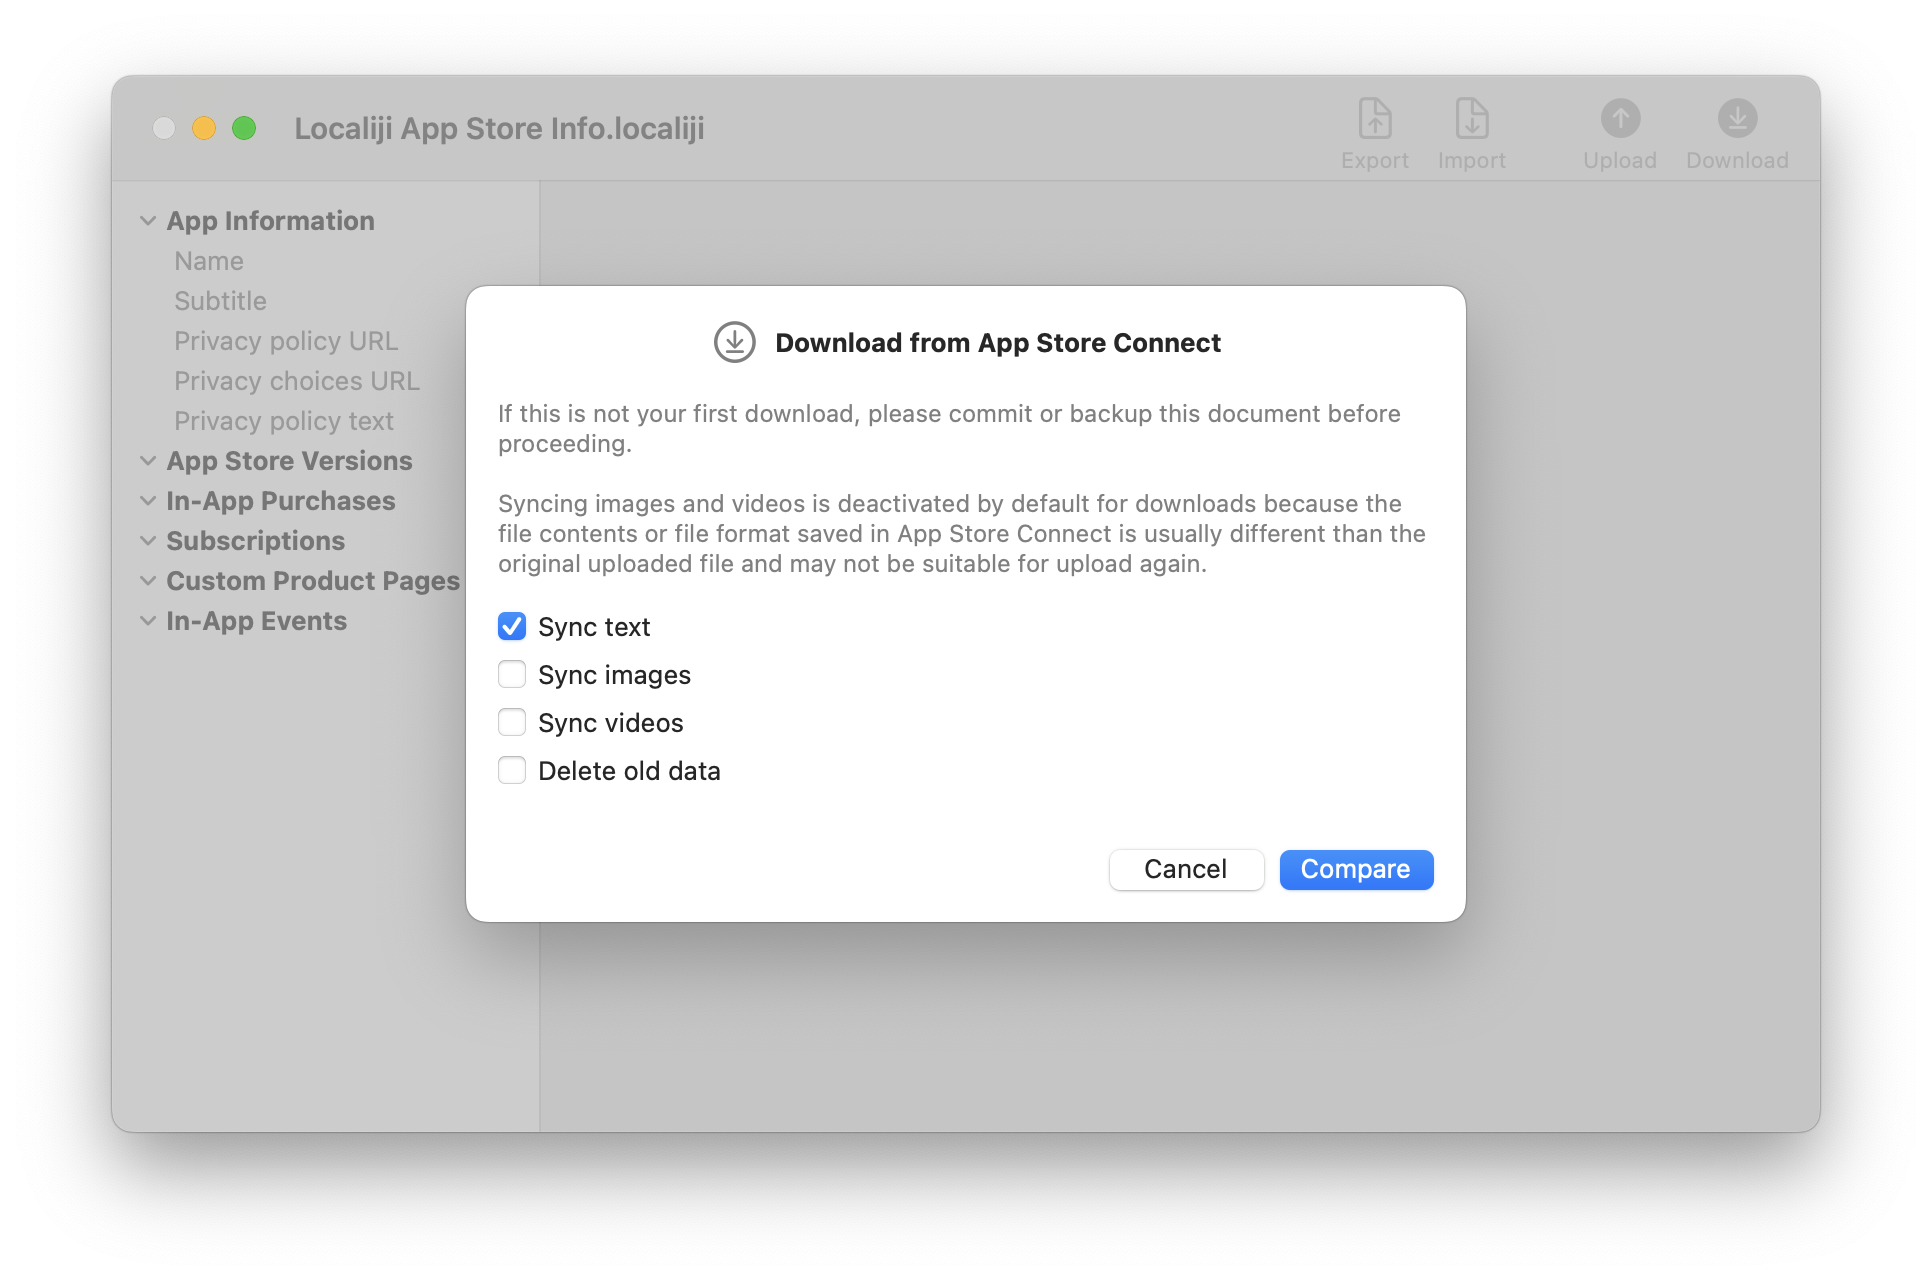
Right after creating the document, you are presented the sync dialog which allows you to select what data you want to download from App Store Connect. By default, when downloading data, only the option “Sync text” is selected, because images and videos are stored in App Store Connect in a different format than the original ones and may not be suitable for upload again.
Click Compare.
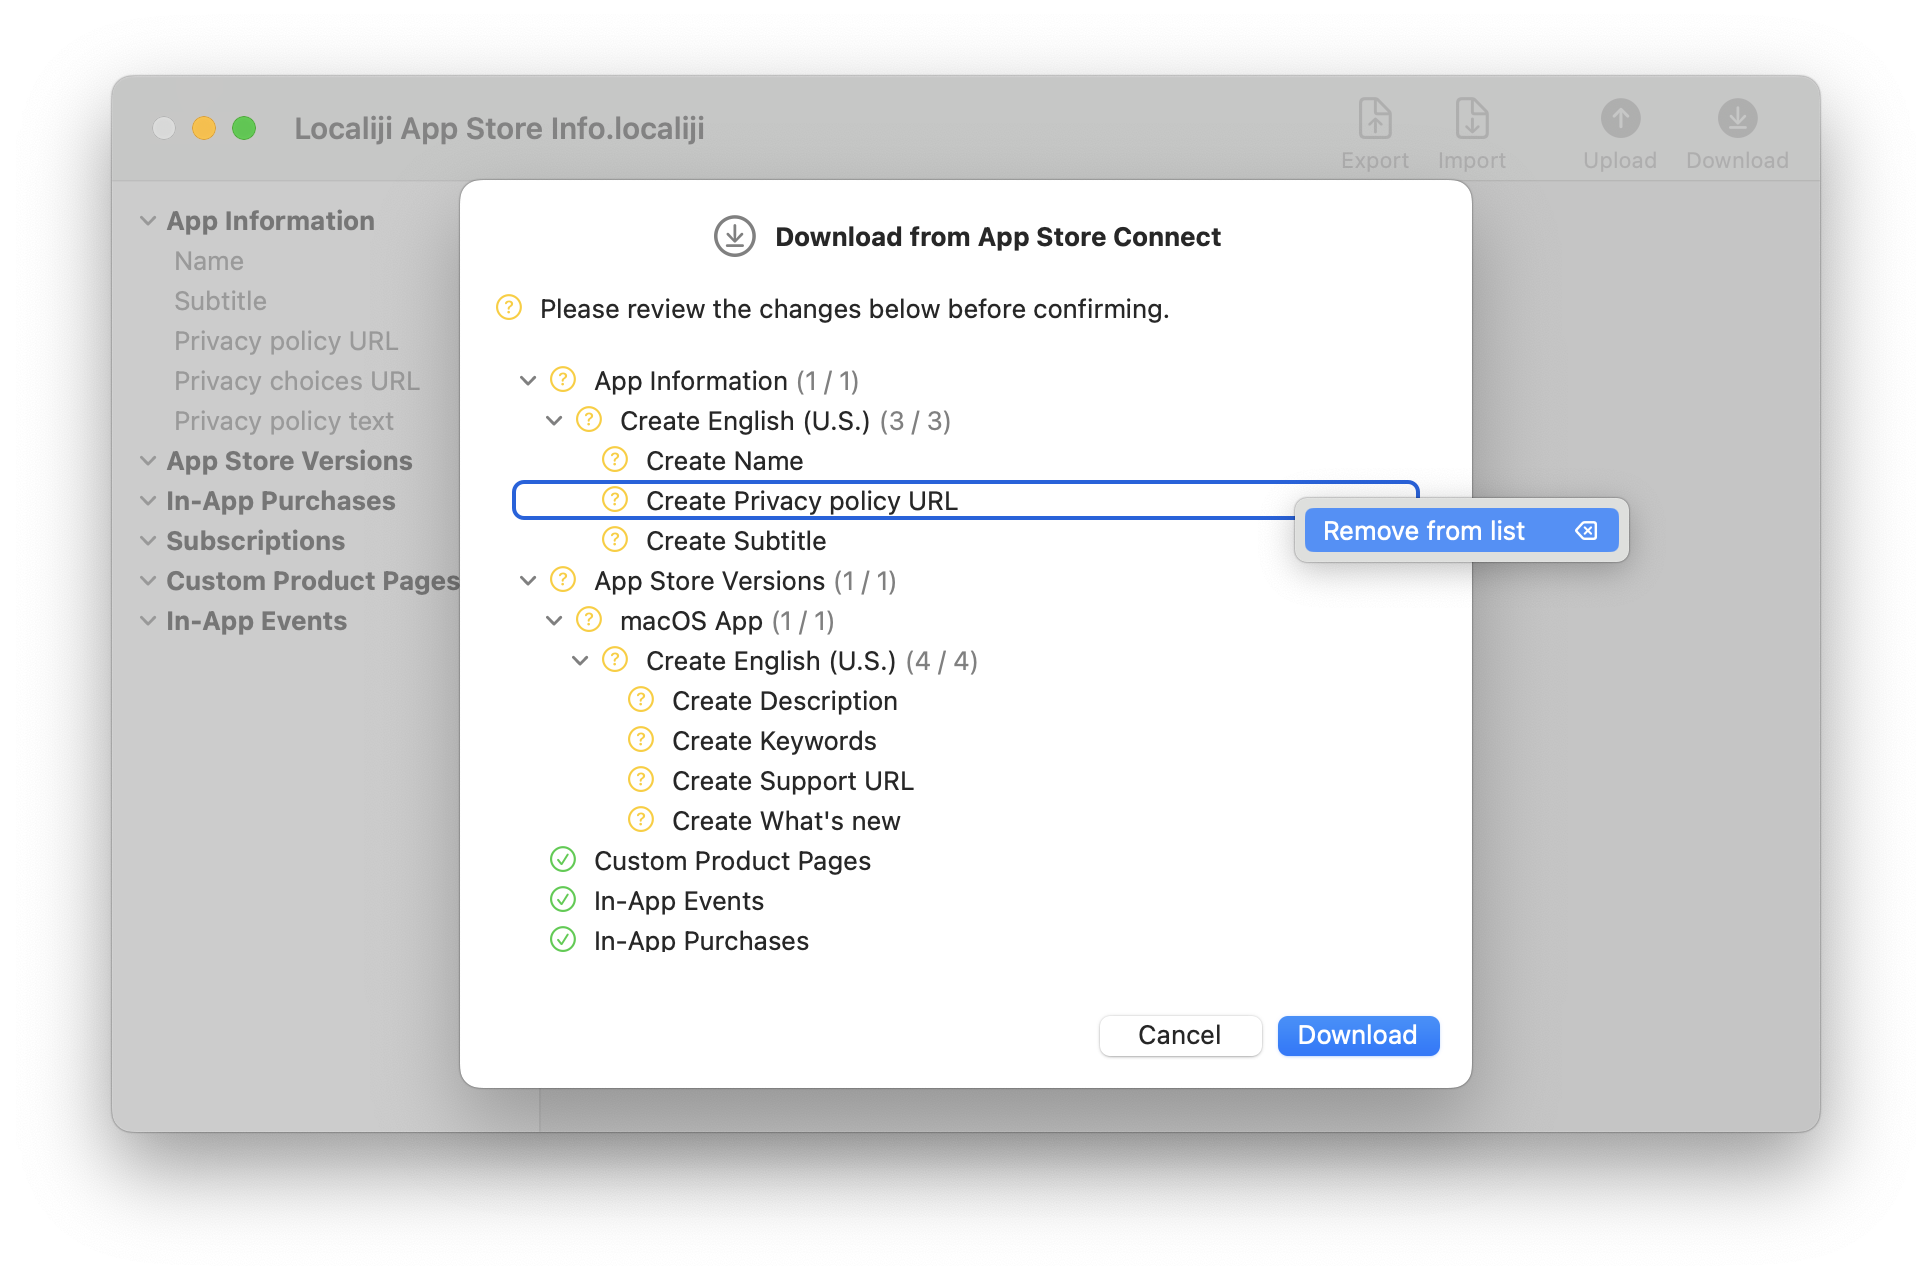
It may take a few seconds for Localiji to determine what data is available to download from App Store Connect. When the comparison has completed, you are presented with a list of all the data that will be synced. You may select one or more entries and exclude them from this first sync by opening the context menu and selecting Remove from list or pressing the Delete key.
Click Download.
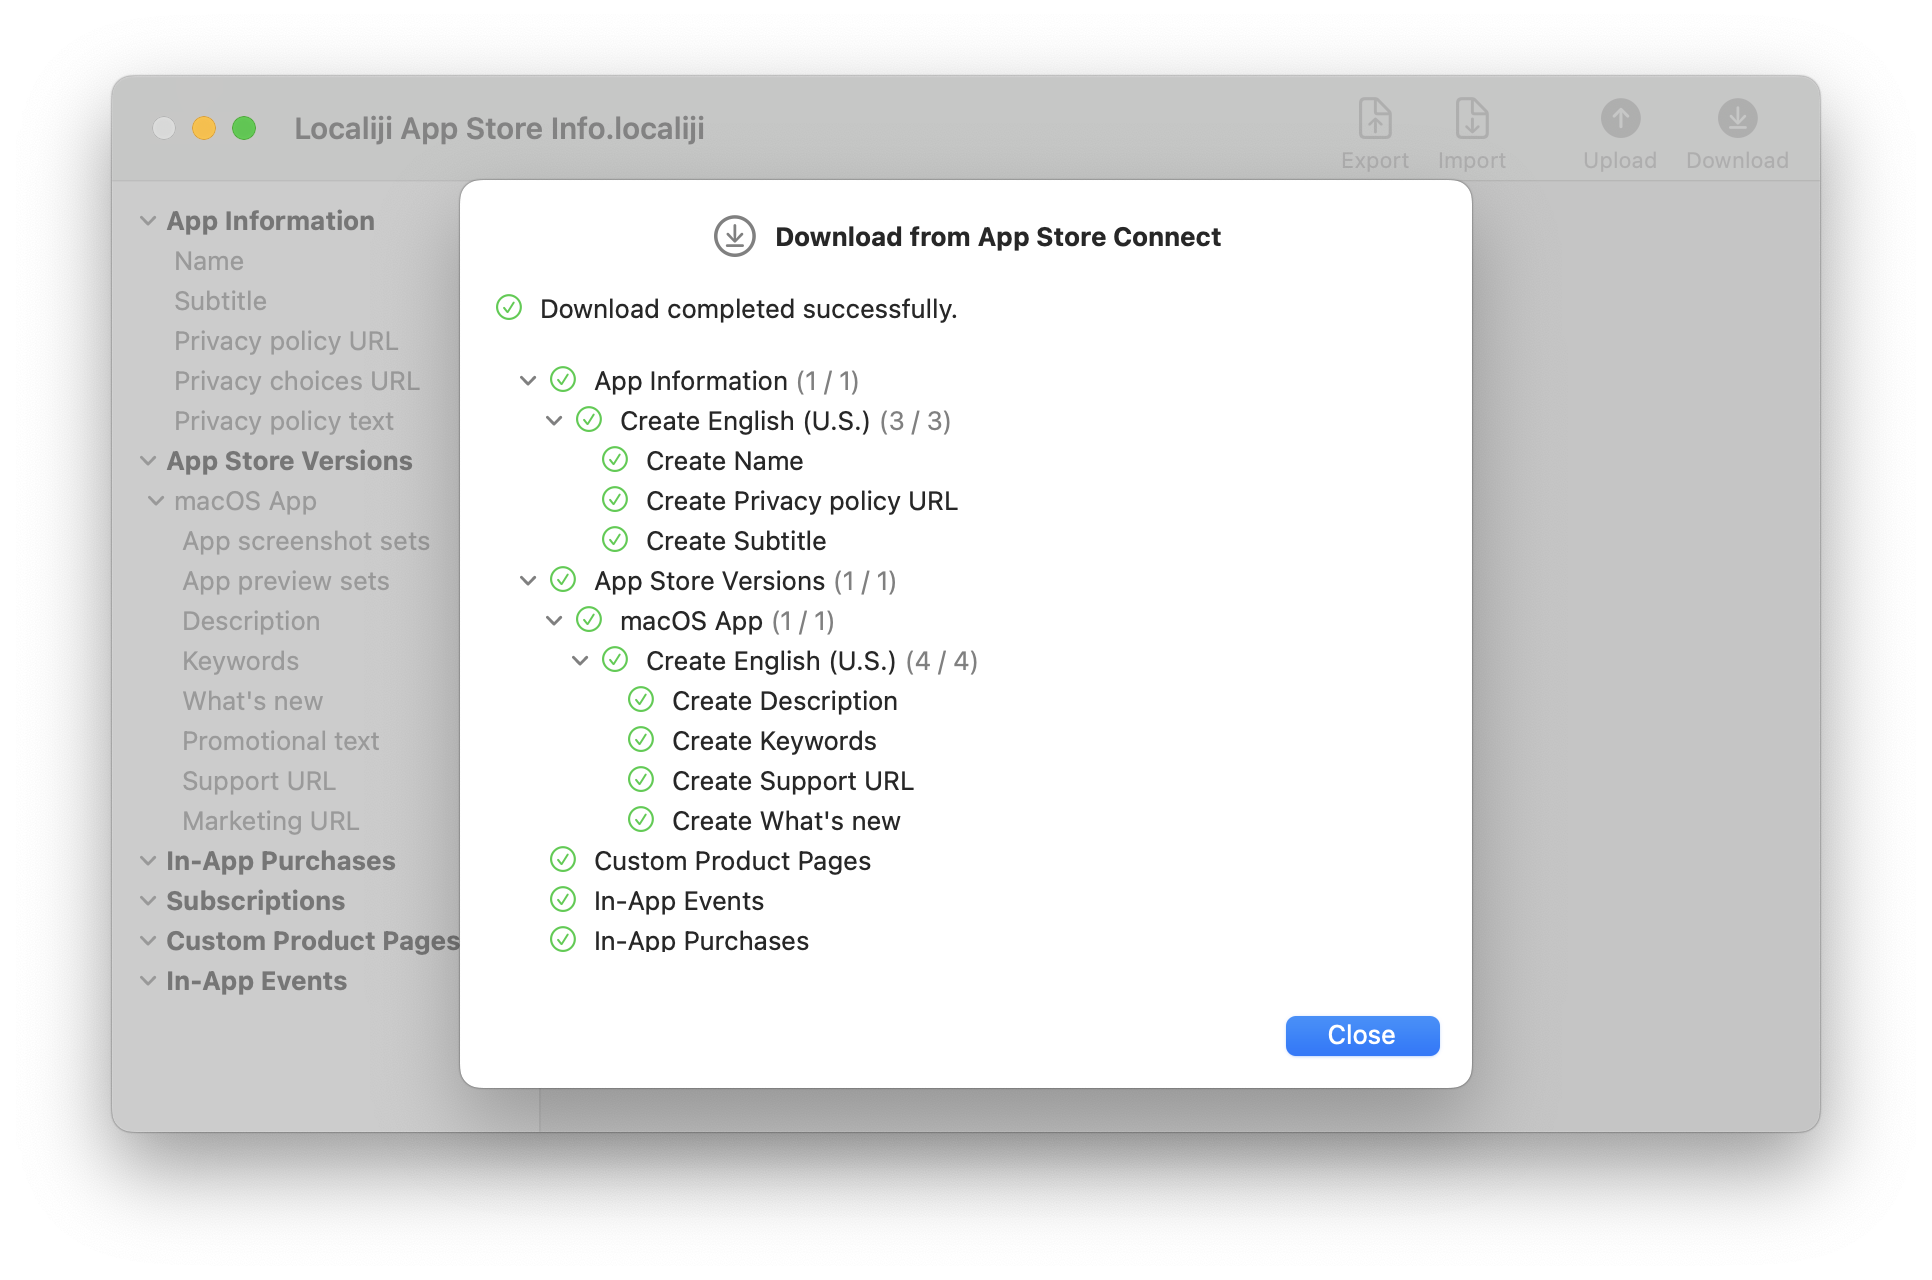
If any errors happen during the sync, they will be shown below the corresponding entry in the sync dialog. If all goes well, you will see a green checkmark on all entries and on the summary at the top.
Click Close.
Edit localizations in Localiji
Select any of the available App Store attributes in the sidebar to view the list of languages and the corresponding localizations. If you haven’t added any languages yet, you will only see the base language.

If you want to localize some attributes yourself, you can do so directly within Localiji. First, add additional languages by selecting them in File > Add Language.
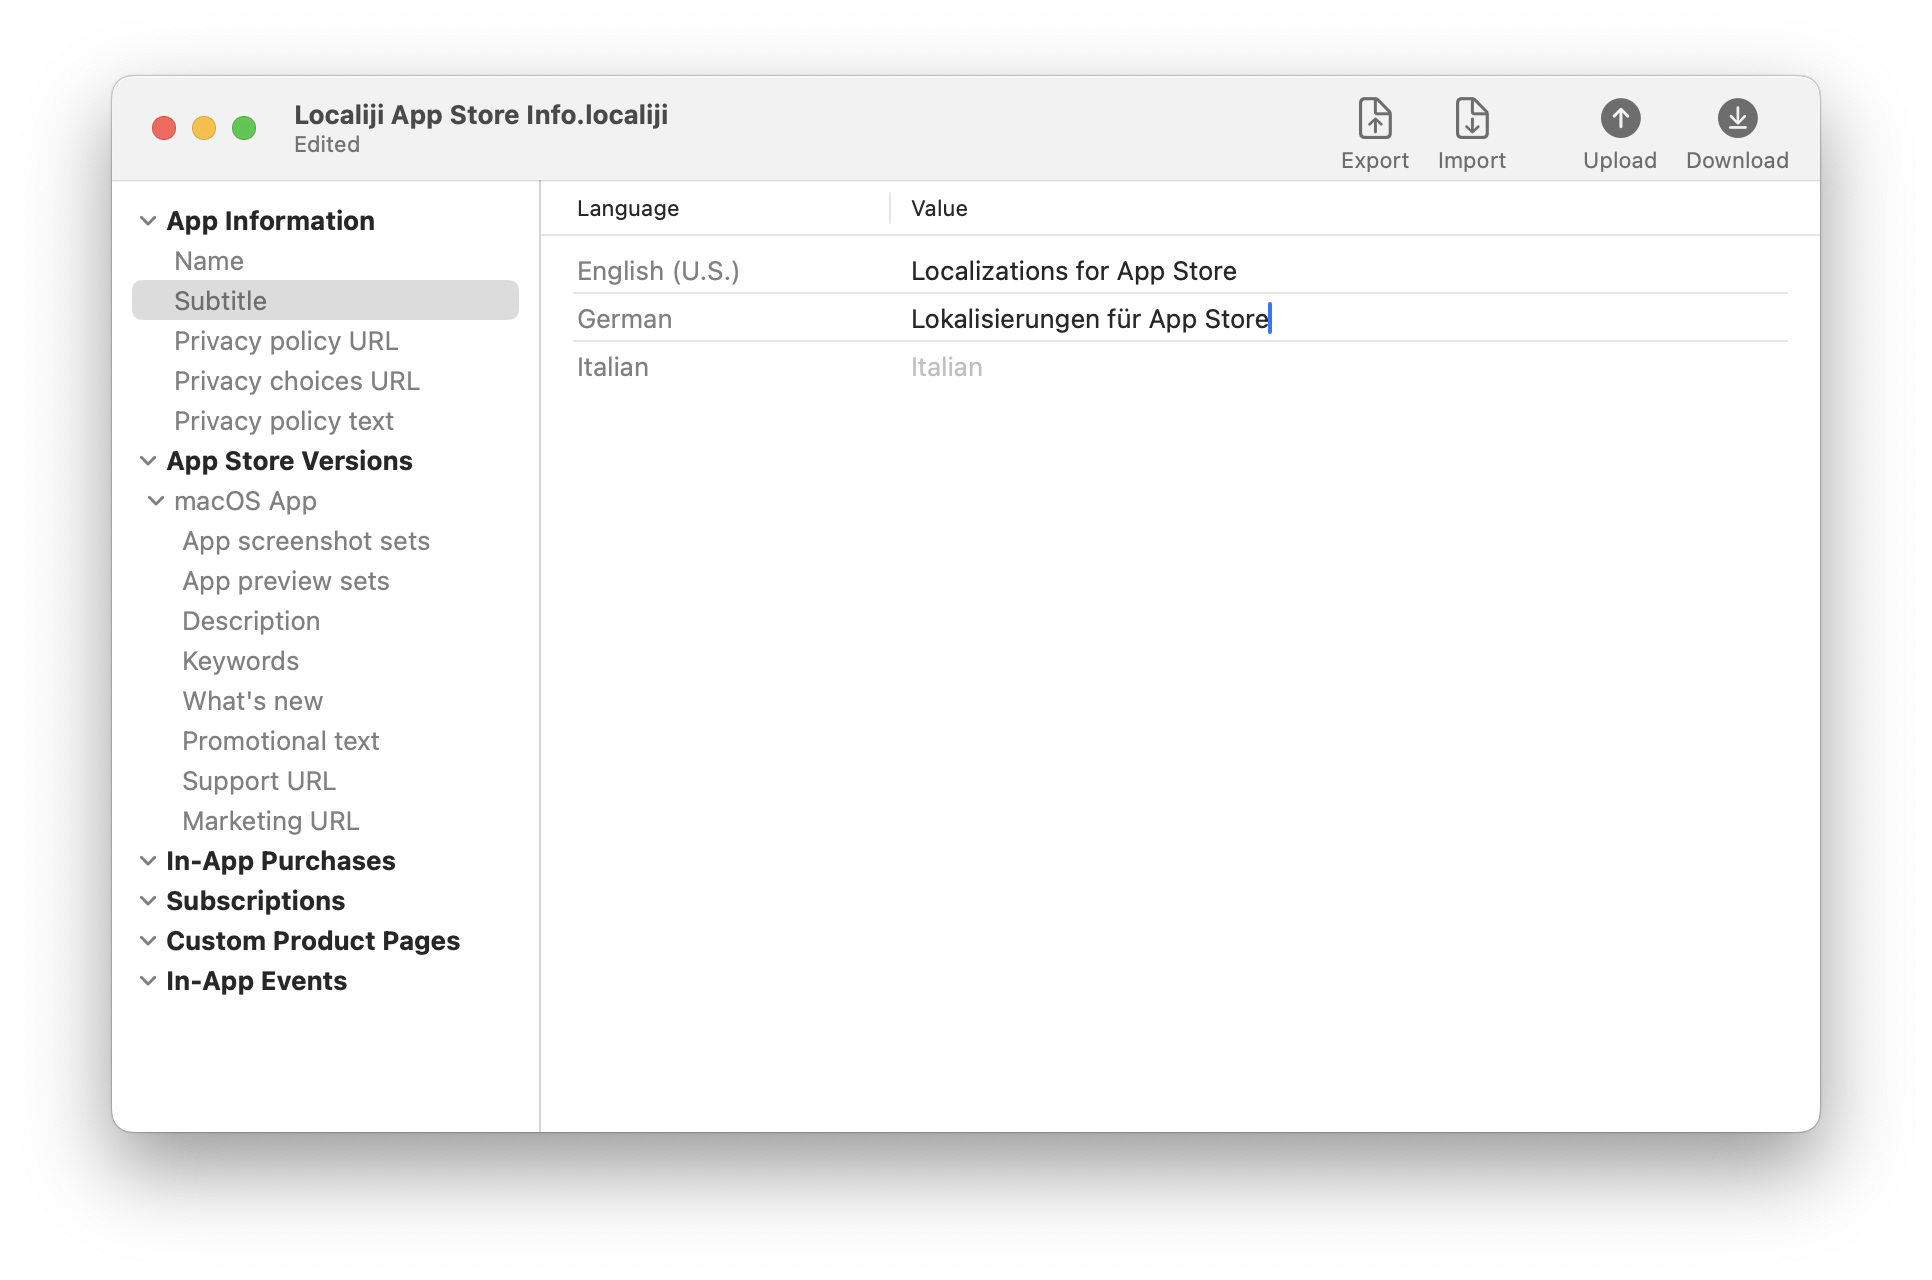
Text
To edit a text value, click the text field beside the language name and insert the new text.
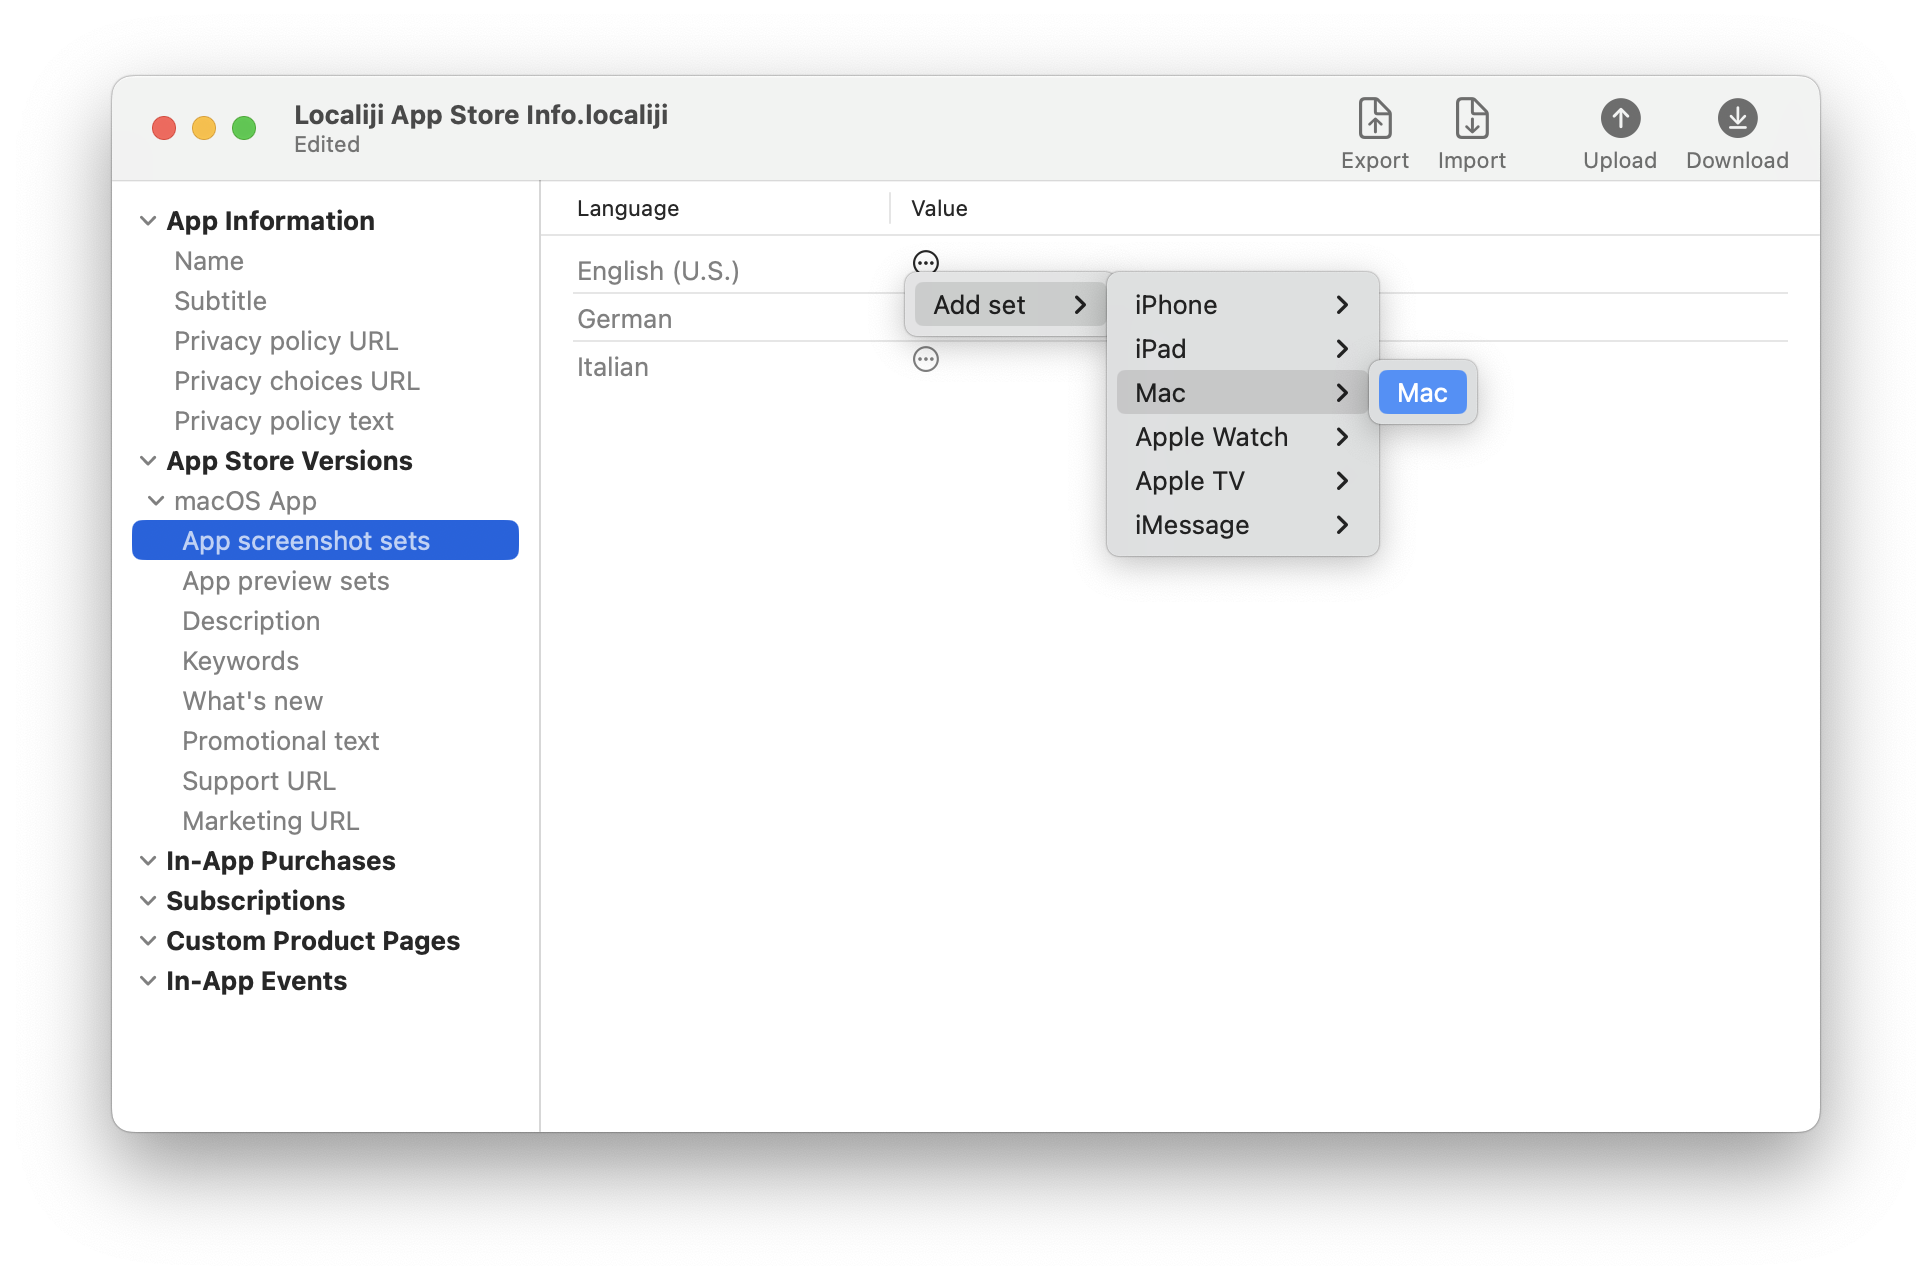
App screenshots and app previews
To add images or videos, click on the three dots button and select a set type.
Click on the three dots menu again and select Add File… In the Open panel, select the file you want to add and click Open.
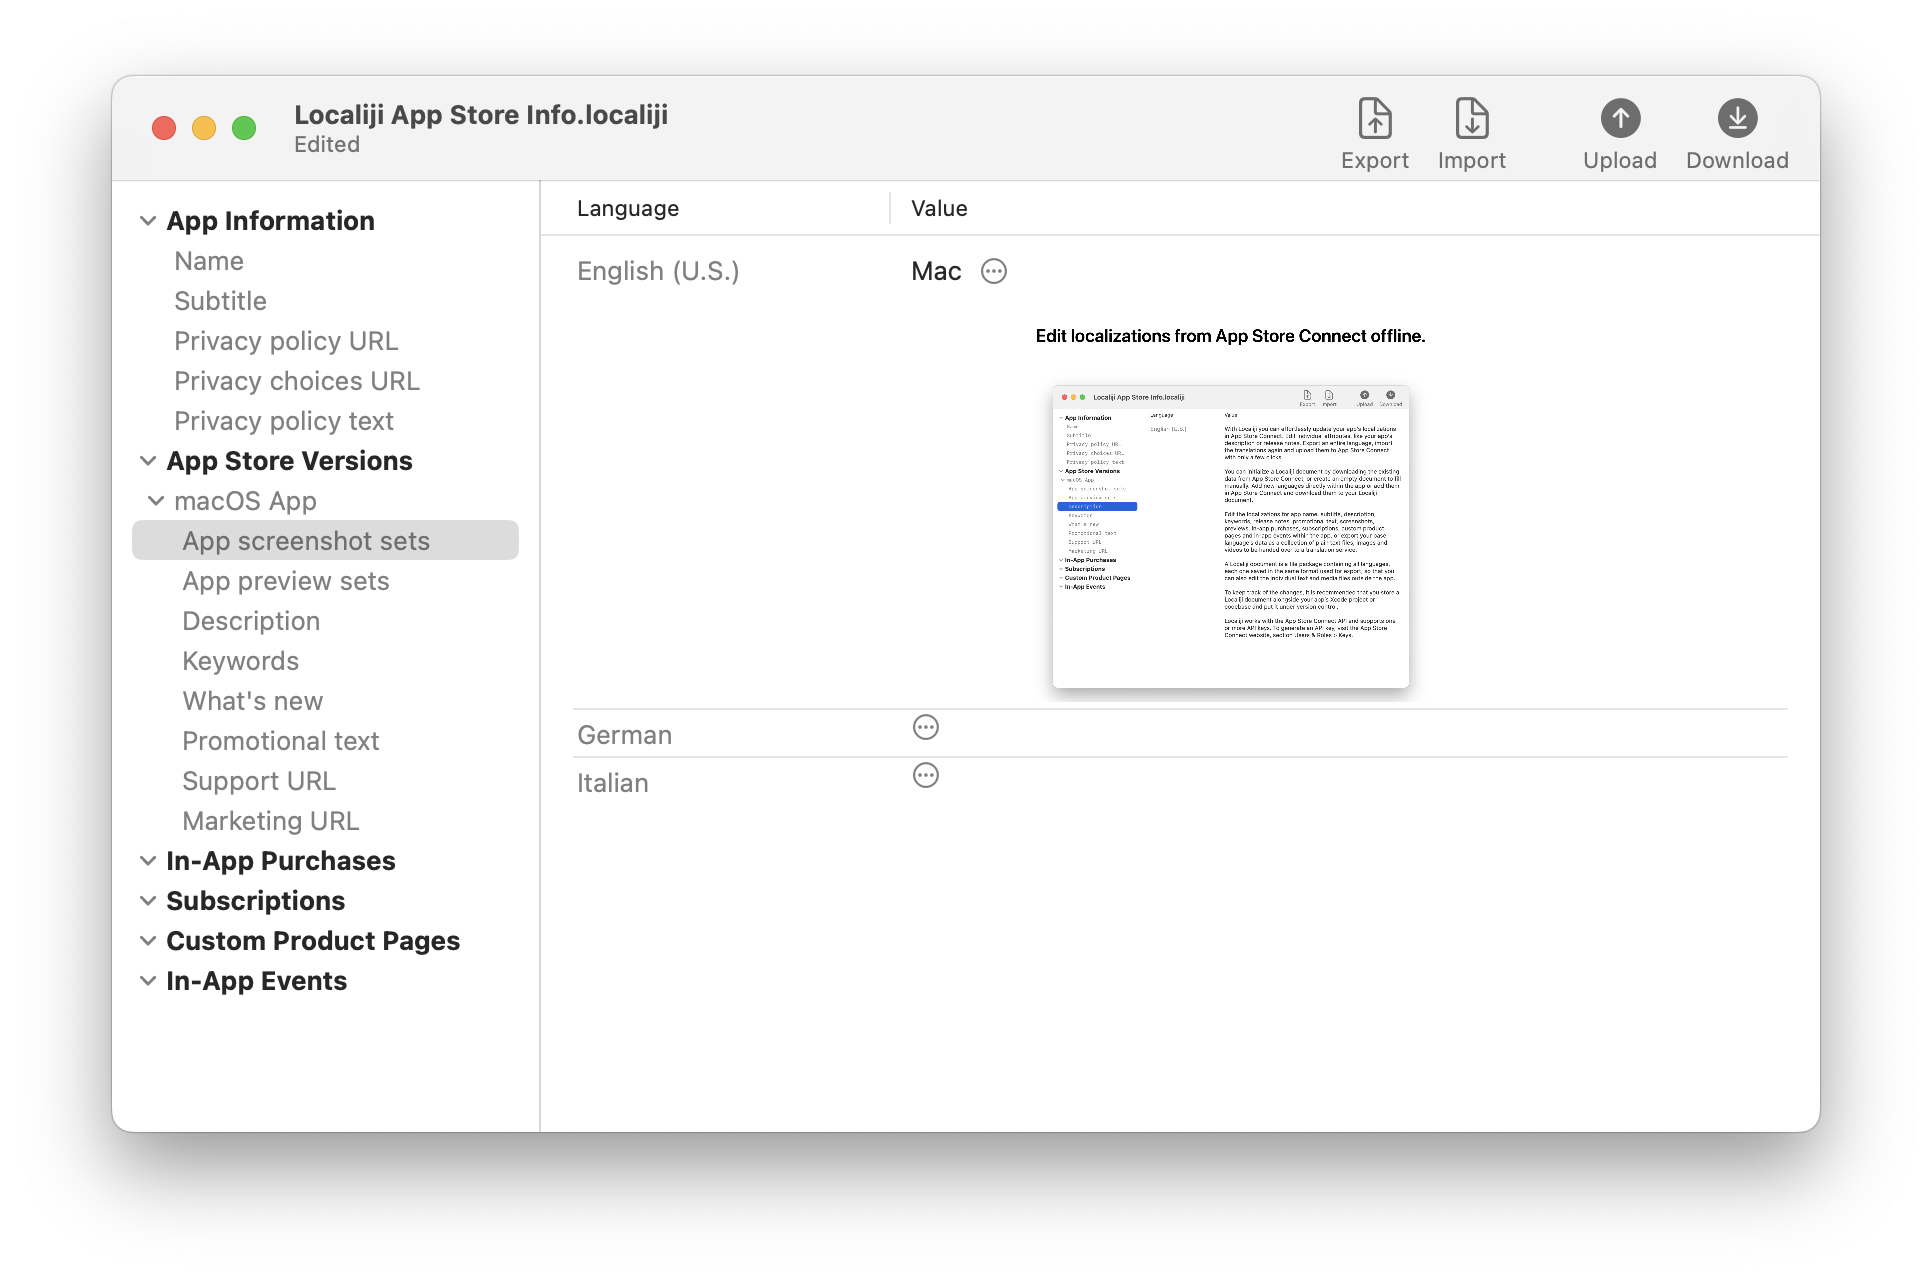
From the three dots menu you can change the order of added files, remove them again, or remove an entire set. When choosing one of these actions, you are given the chance to perform the action only for the selected language, or all languages at once.

Localiji autosaves the document periodically. Alternatively, you can save it manually by selecting File > Save.
Edit localizations from the Finder
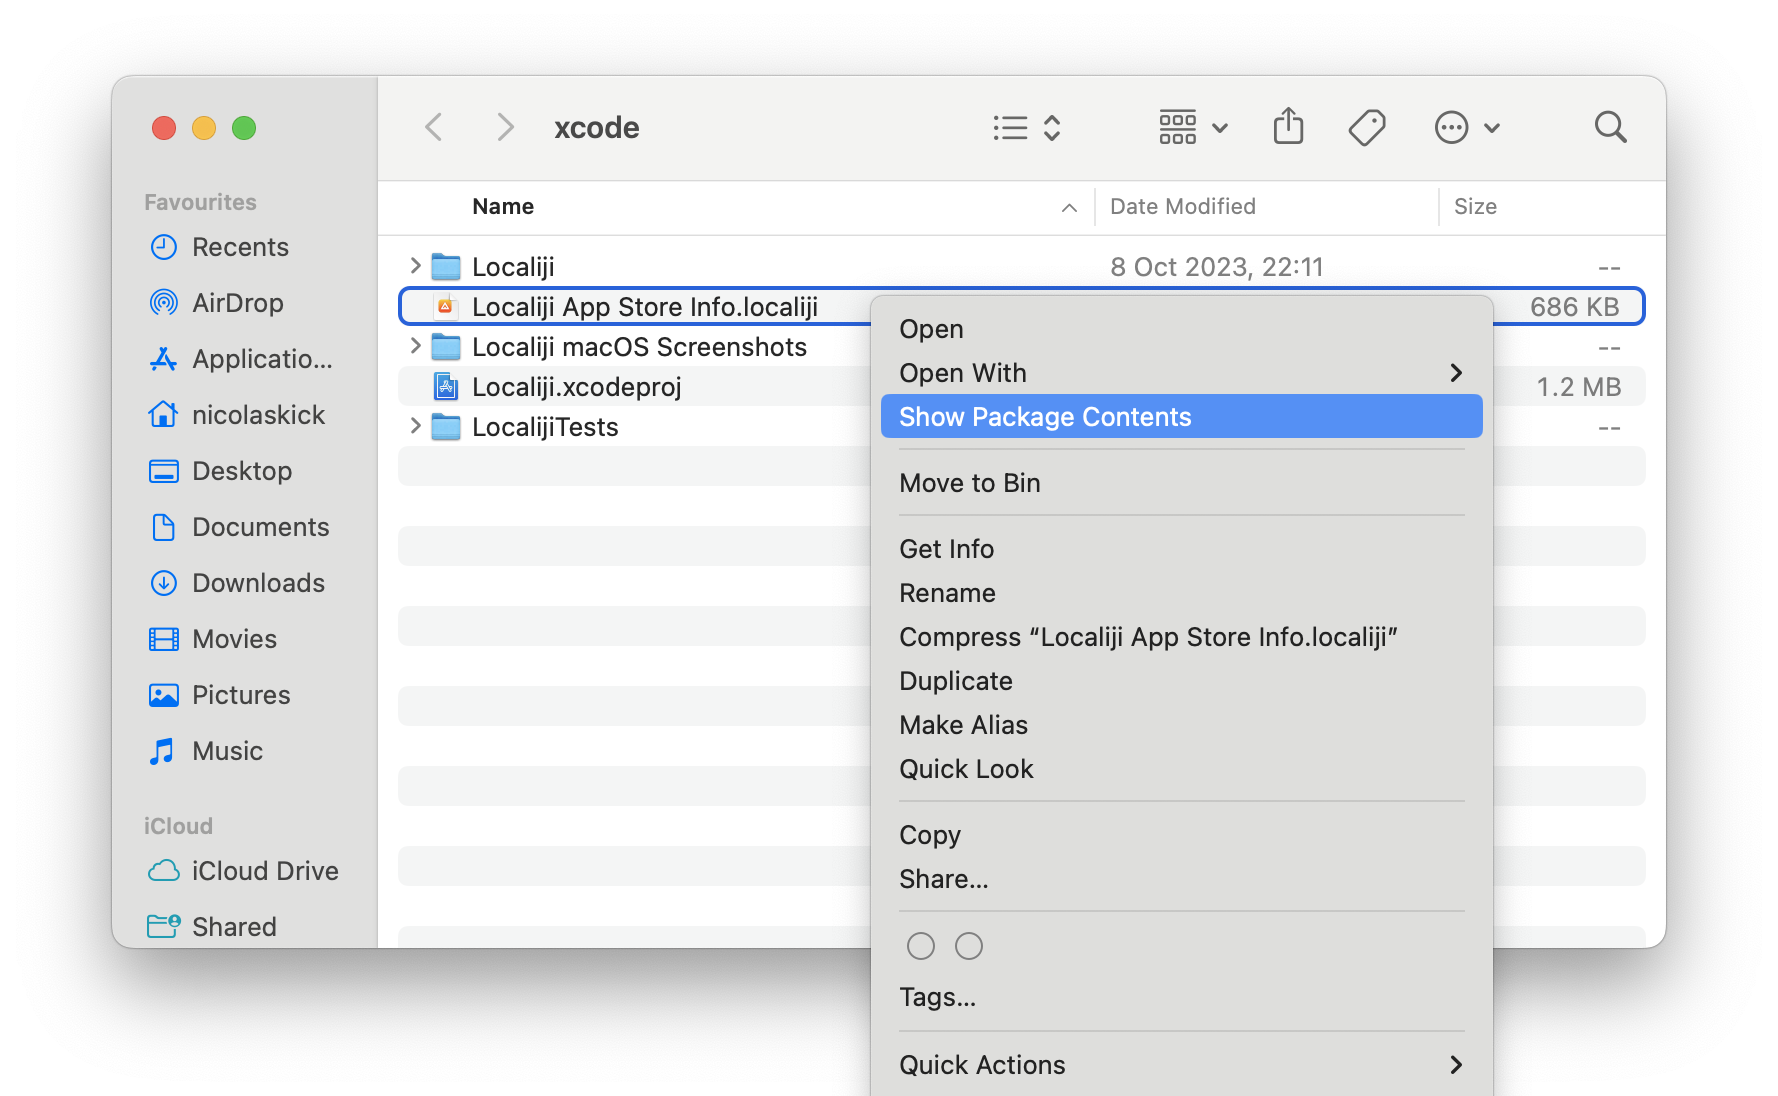
Localiji documents are saved in an easy-to-read format. To see the files in a Localiji document, right-click the document in the Finder and select Show Package Contents.
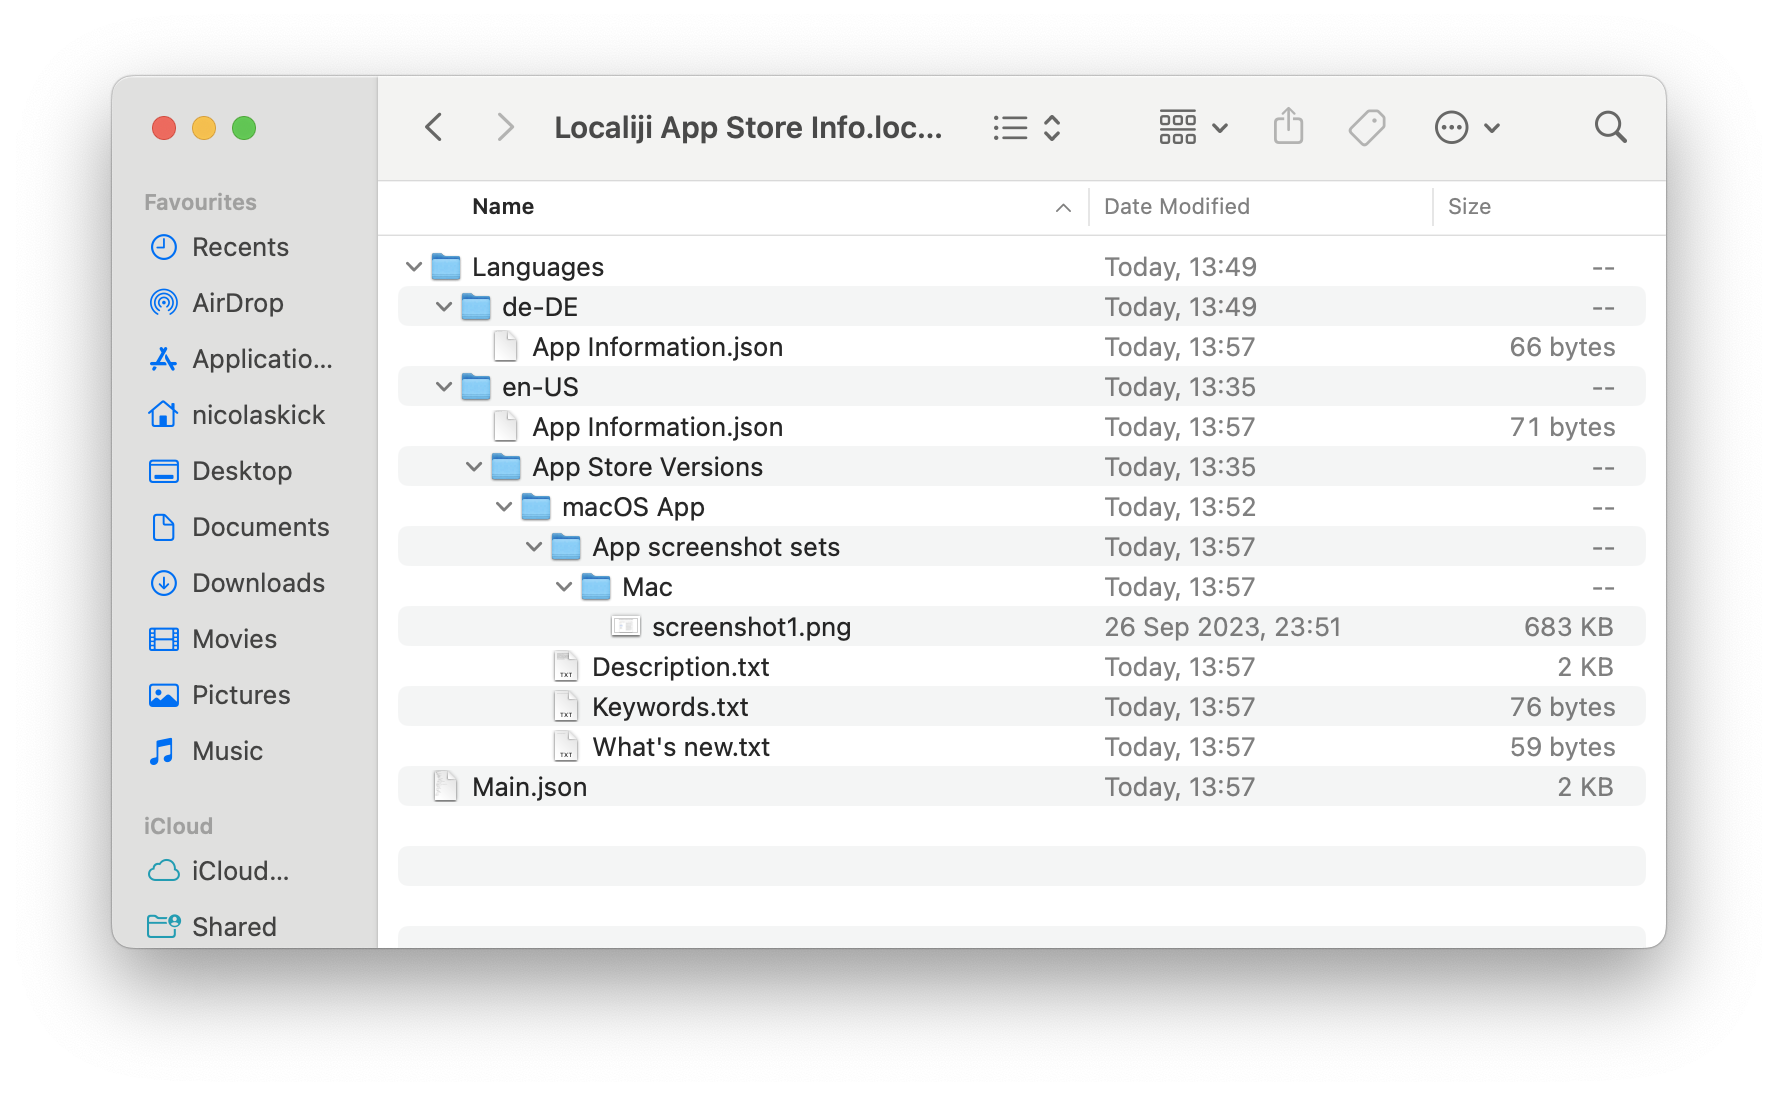
At the root of a Localiji document is a file Main.json which contains references to all the linked files. Main.json also stores technical App Store attributes such as Privacy policy URL, Support URL and so on.
The Languages directory contains a subdirectory for each added language, which in turn contain files for the localized attributes. Localiji stores longer texts (such as the app description and release notes) in .txt files and shorter or grouped texts (such as the app title, app subtitle and in-app purchase details) in .json files.
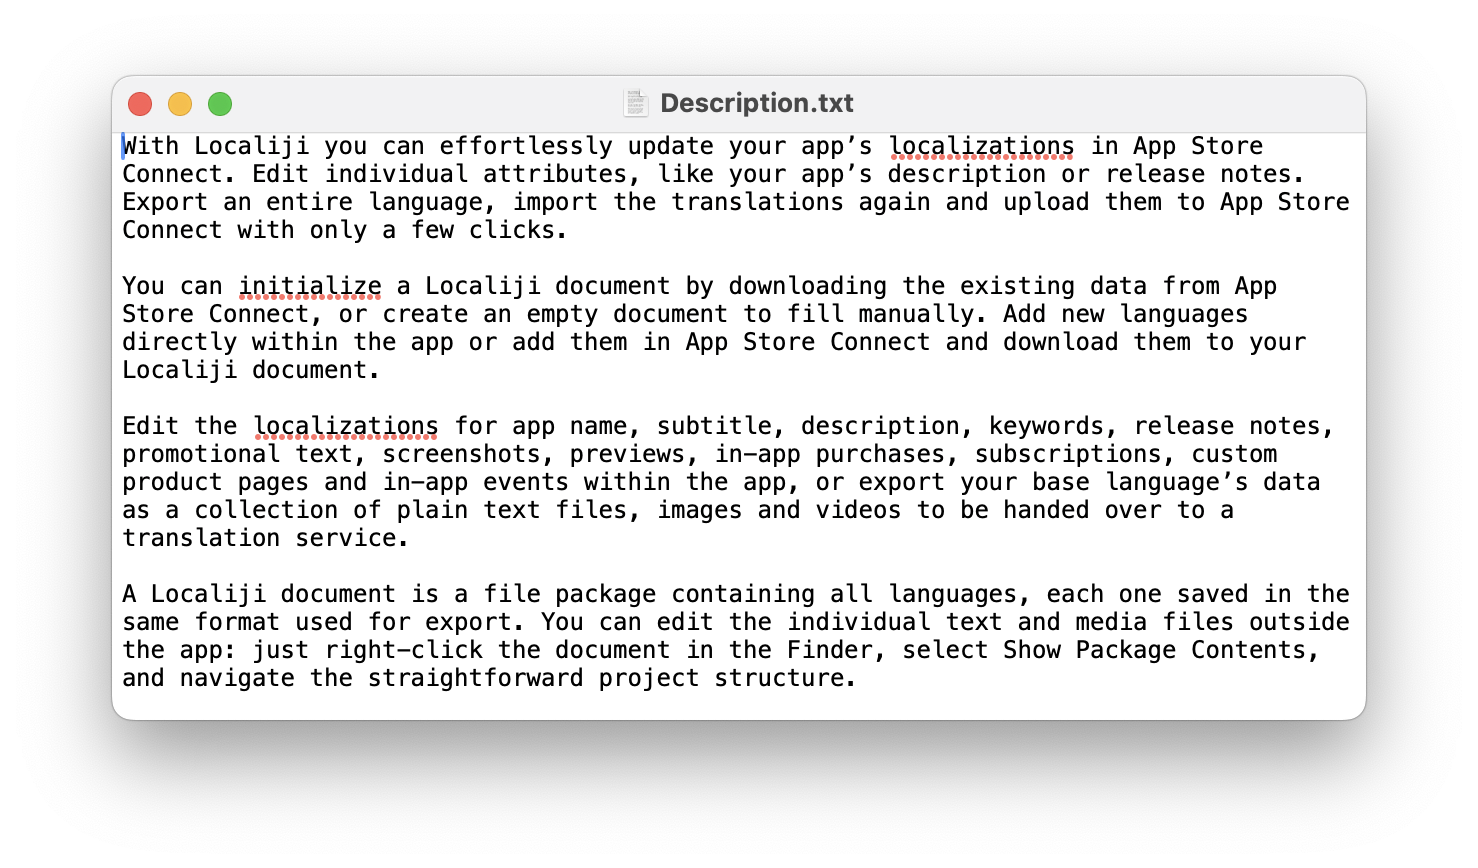
All these localized files can be opened and edited outside of Localiji. It is recommended that you close Localiji before doing so. When you’re done, open Localiji again to see the changes reflected in the app.
For example, you might edit a .txt file in TextEdit:
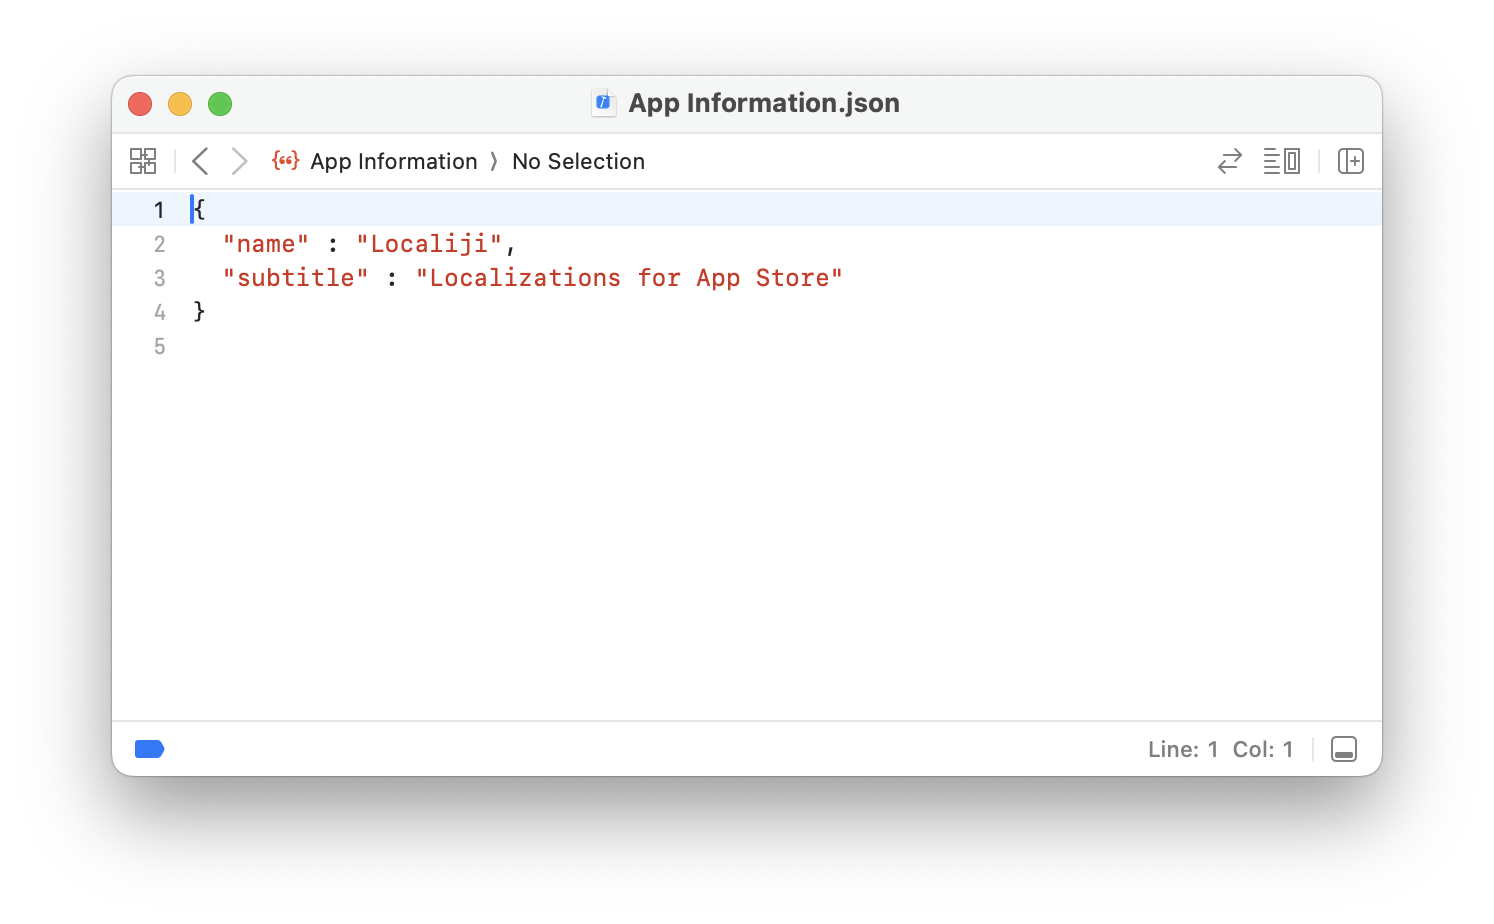
… or a .json file in Xcode:
Export for translation
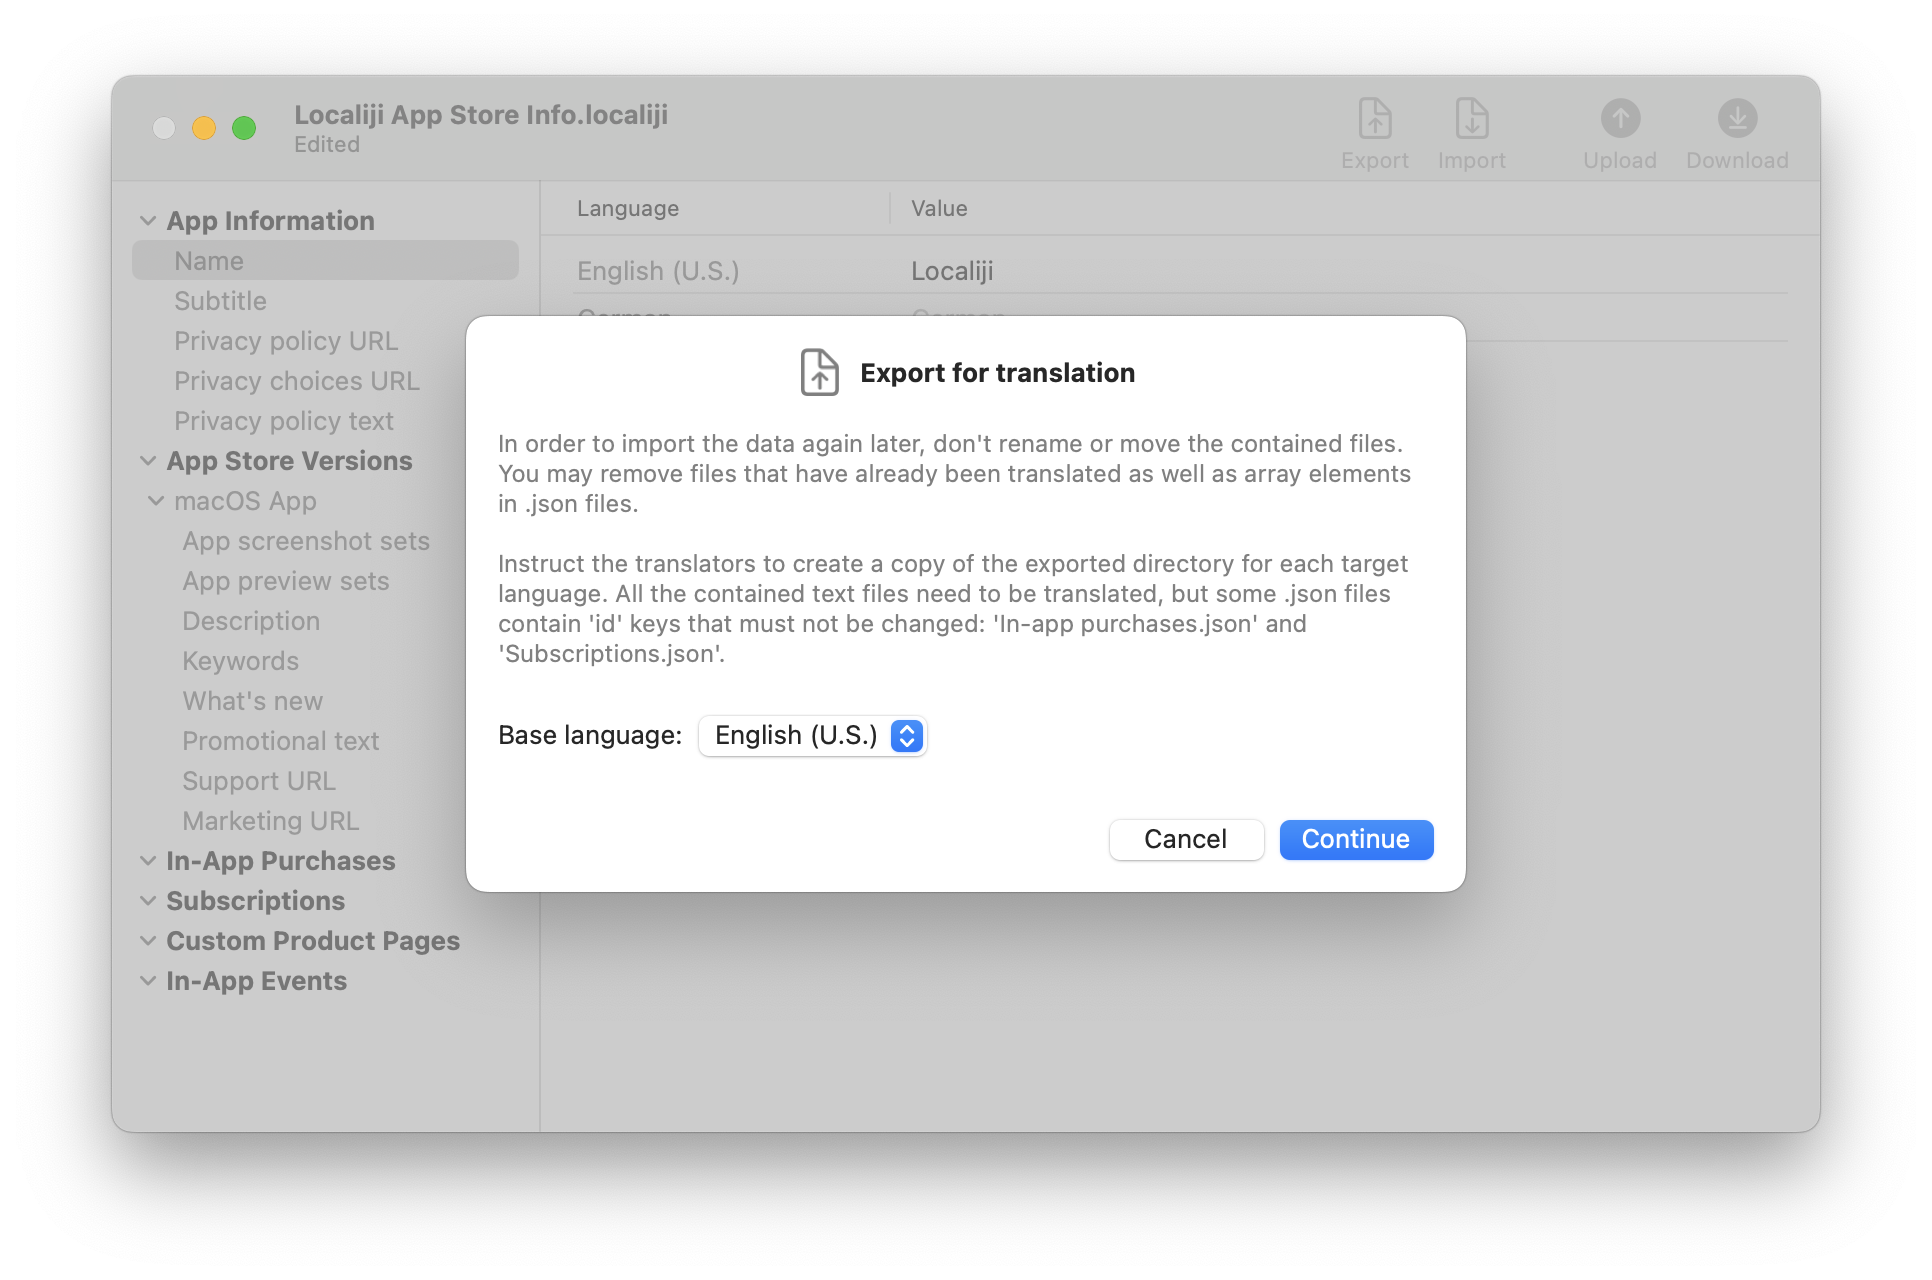
If you want to hand over the localization to a third-party translation service, you can export the files associated with the base language, or another existing language.
First, click on the Export toolbar button or select File > Export Localizations… and then select the language you want to export. Then click Continue and choose where you want to save the exported files.
Alternatively, you can locate the directories associated with the languages to be translated in the Finder (see section Edit localizations from the Finder) and copy them: the export command in Localiji does exactly the same, it simply copies the selected language directory.
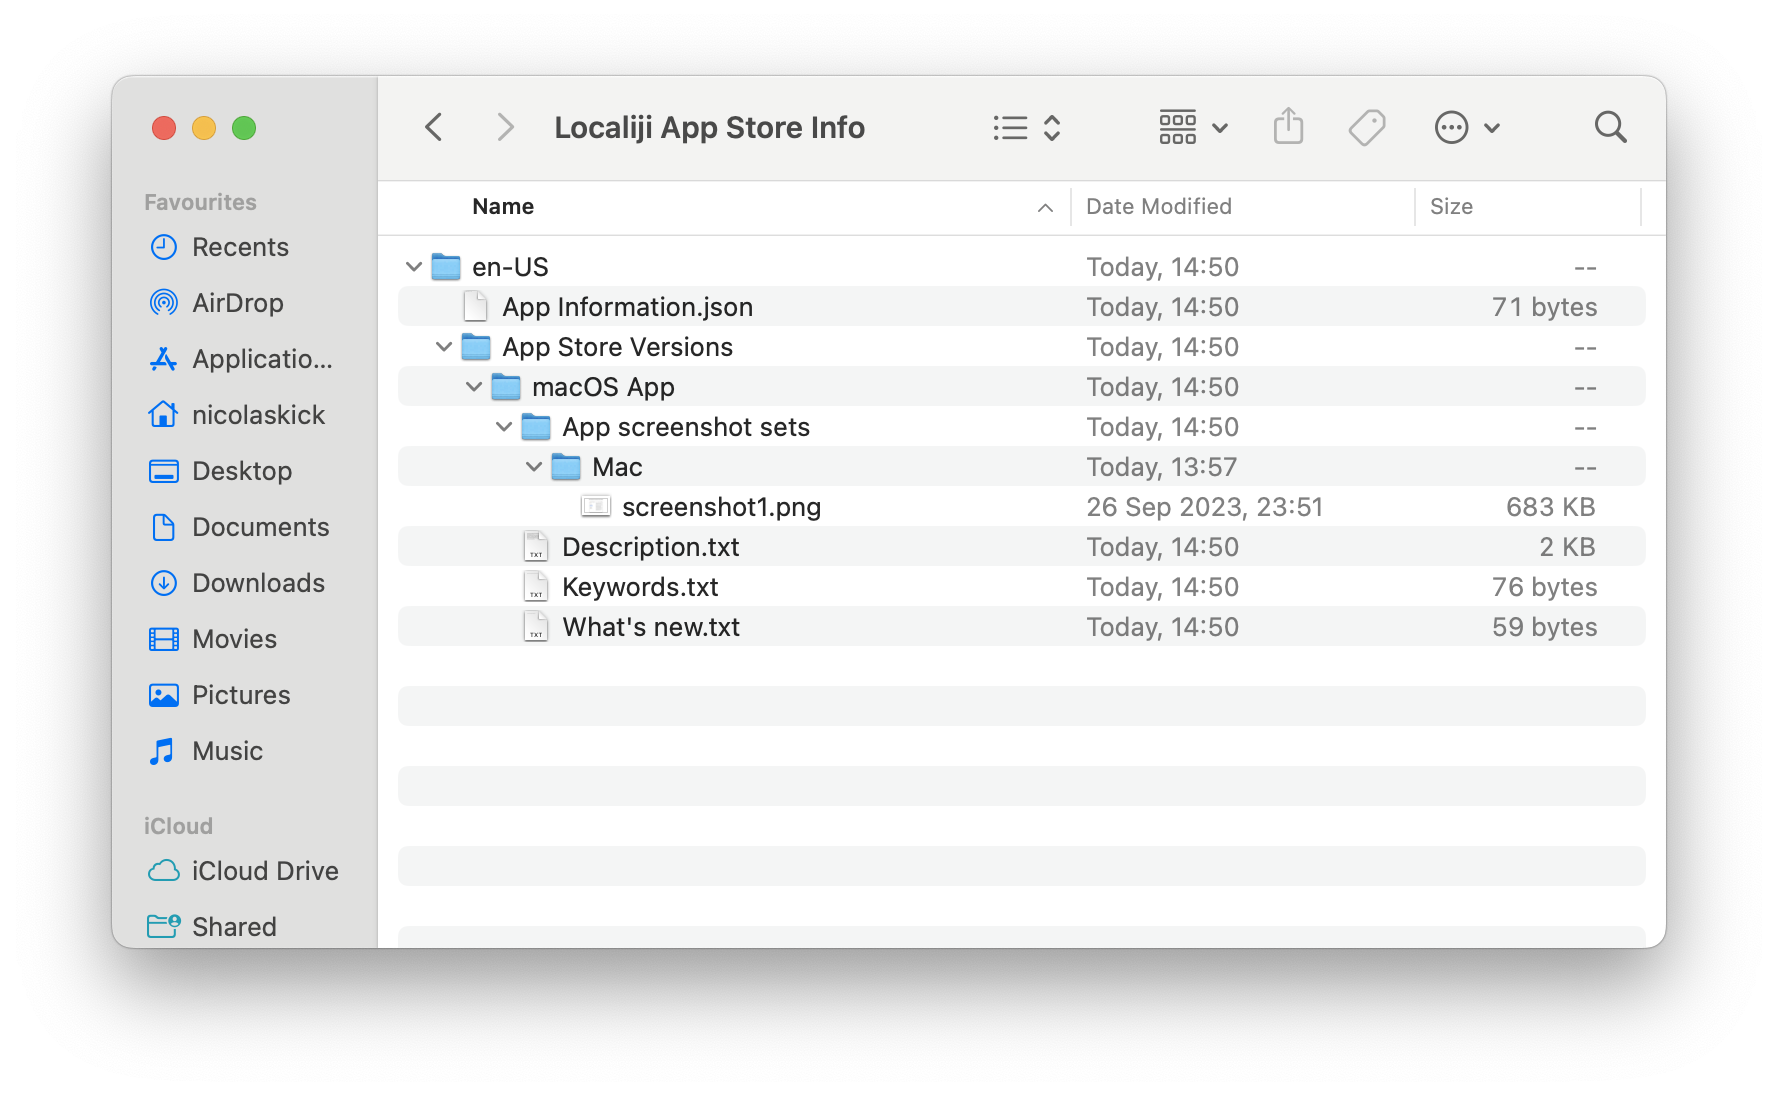
If some files don’t need to be localized, you may remove them from the exported archive. For example, you may not need to localize the app screenshots and hence remove the App screenshot sets directory in the following image. If you create the localized screenshots yourself, you may add them directly before the import (more on this later).
Hand the exported archive over to the translators and wait.
You need to get back a subdirectory for each target language.
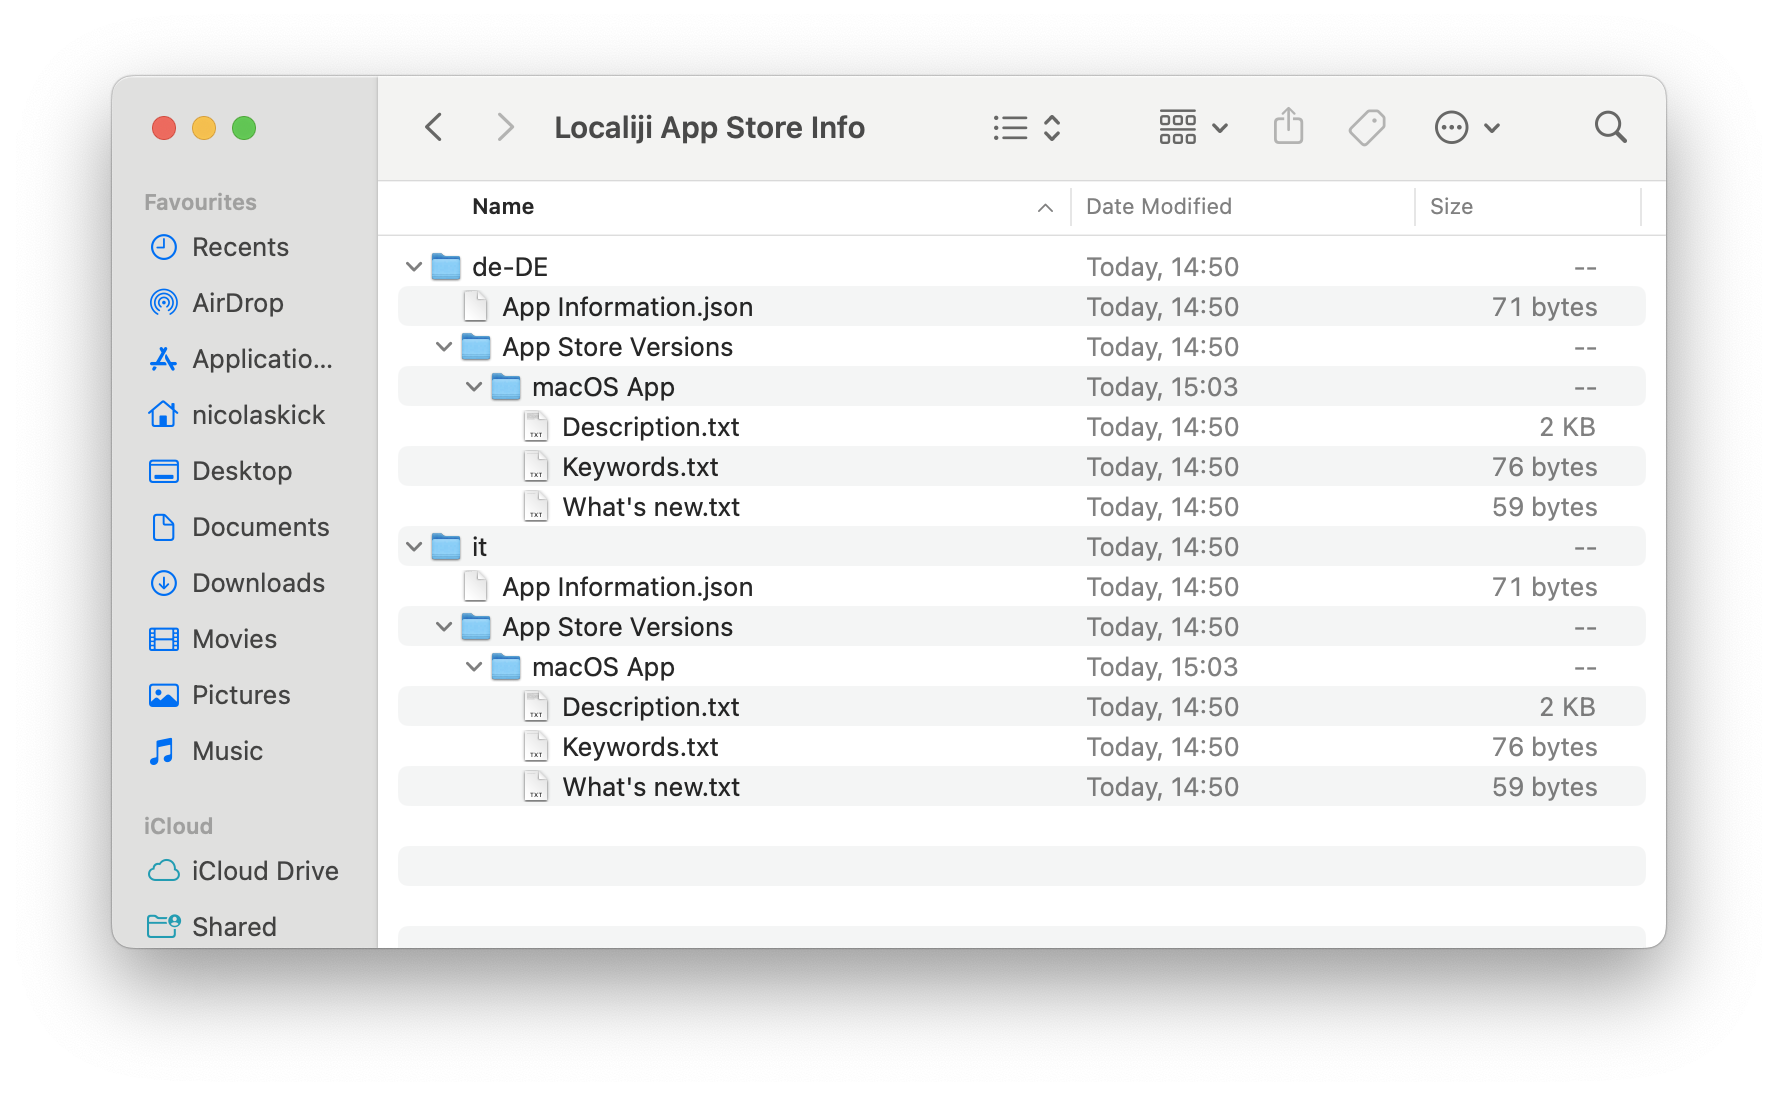
If you create the localized screenshots yourself, such as by using Xcode’s UI tests, this is the moment to insert them into each language’s subdirectory. The directory structure has to match the one after the export (in case you removed the screenshots directory before handing the exported archive over to the translators). To avoid manually moving the generated screenshots into place in the Finder, you can adapt your Xcode script to save the generated images in each language’s subdirectory.
To import the translated files, click on the Import toolbar button or select File > Import Localizations… and in the Open panel select the directory containing all the language subdirectories that you got from the translators. Click Continue.
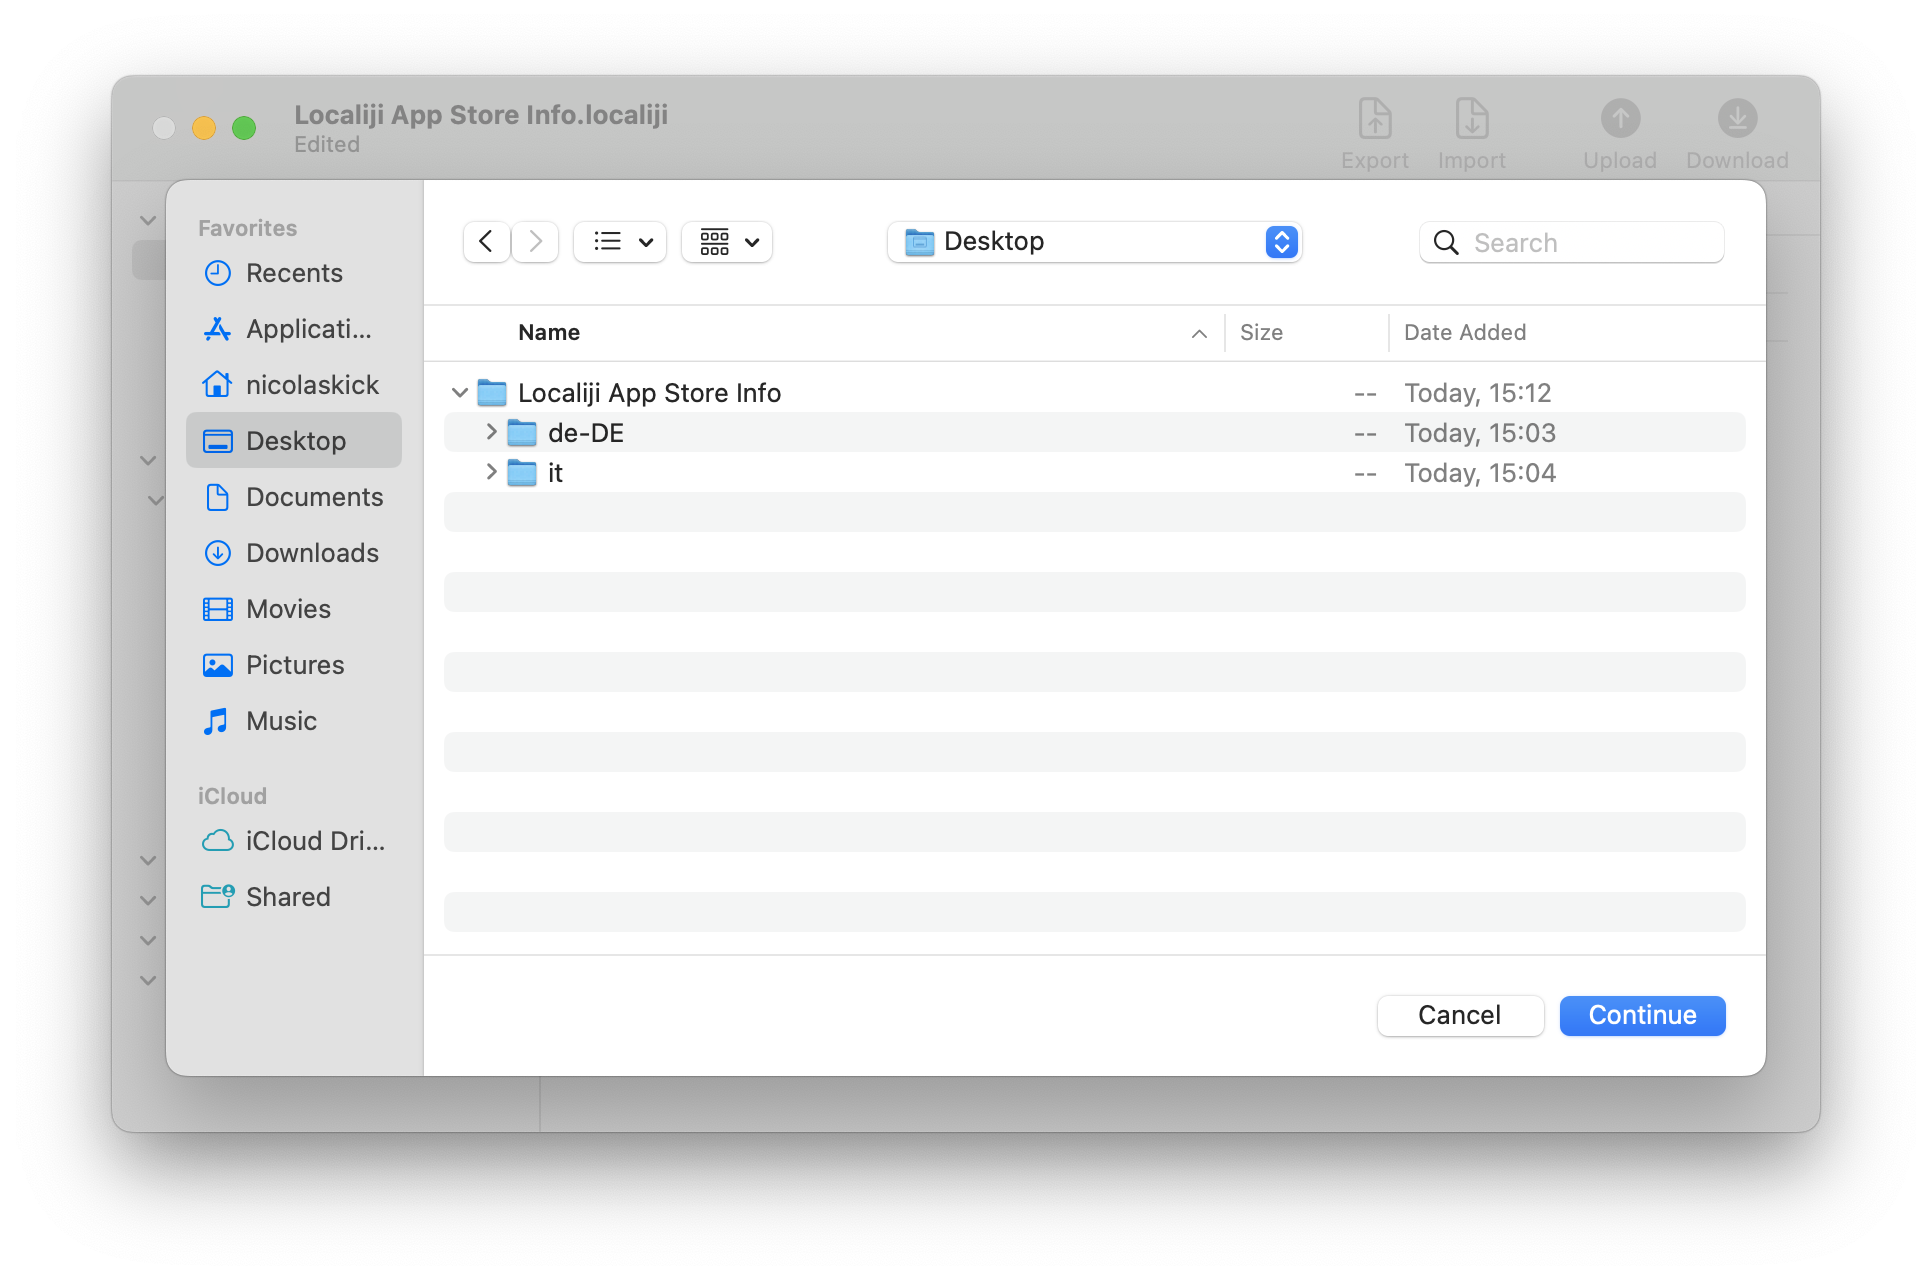
The next dialog shows the list of languages to be imported. If the translators named a directory with a locale identifier that does not match the identifiers used in App Store Connect, Localiji requires that you select the corresponding language from a popup menu of all available languages. (You can find the locale identifier after each language name in the File > Add Language menu.)
The Base language should be set to the same value used during the export. This option determines how the imported directories should be traversed: for each file of the base language already present in the Localiji document, each imported language subdirectory is checked for a file with the same name and, if it exists, imported into the document.

Upload to App Store Connect
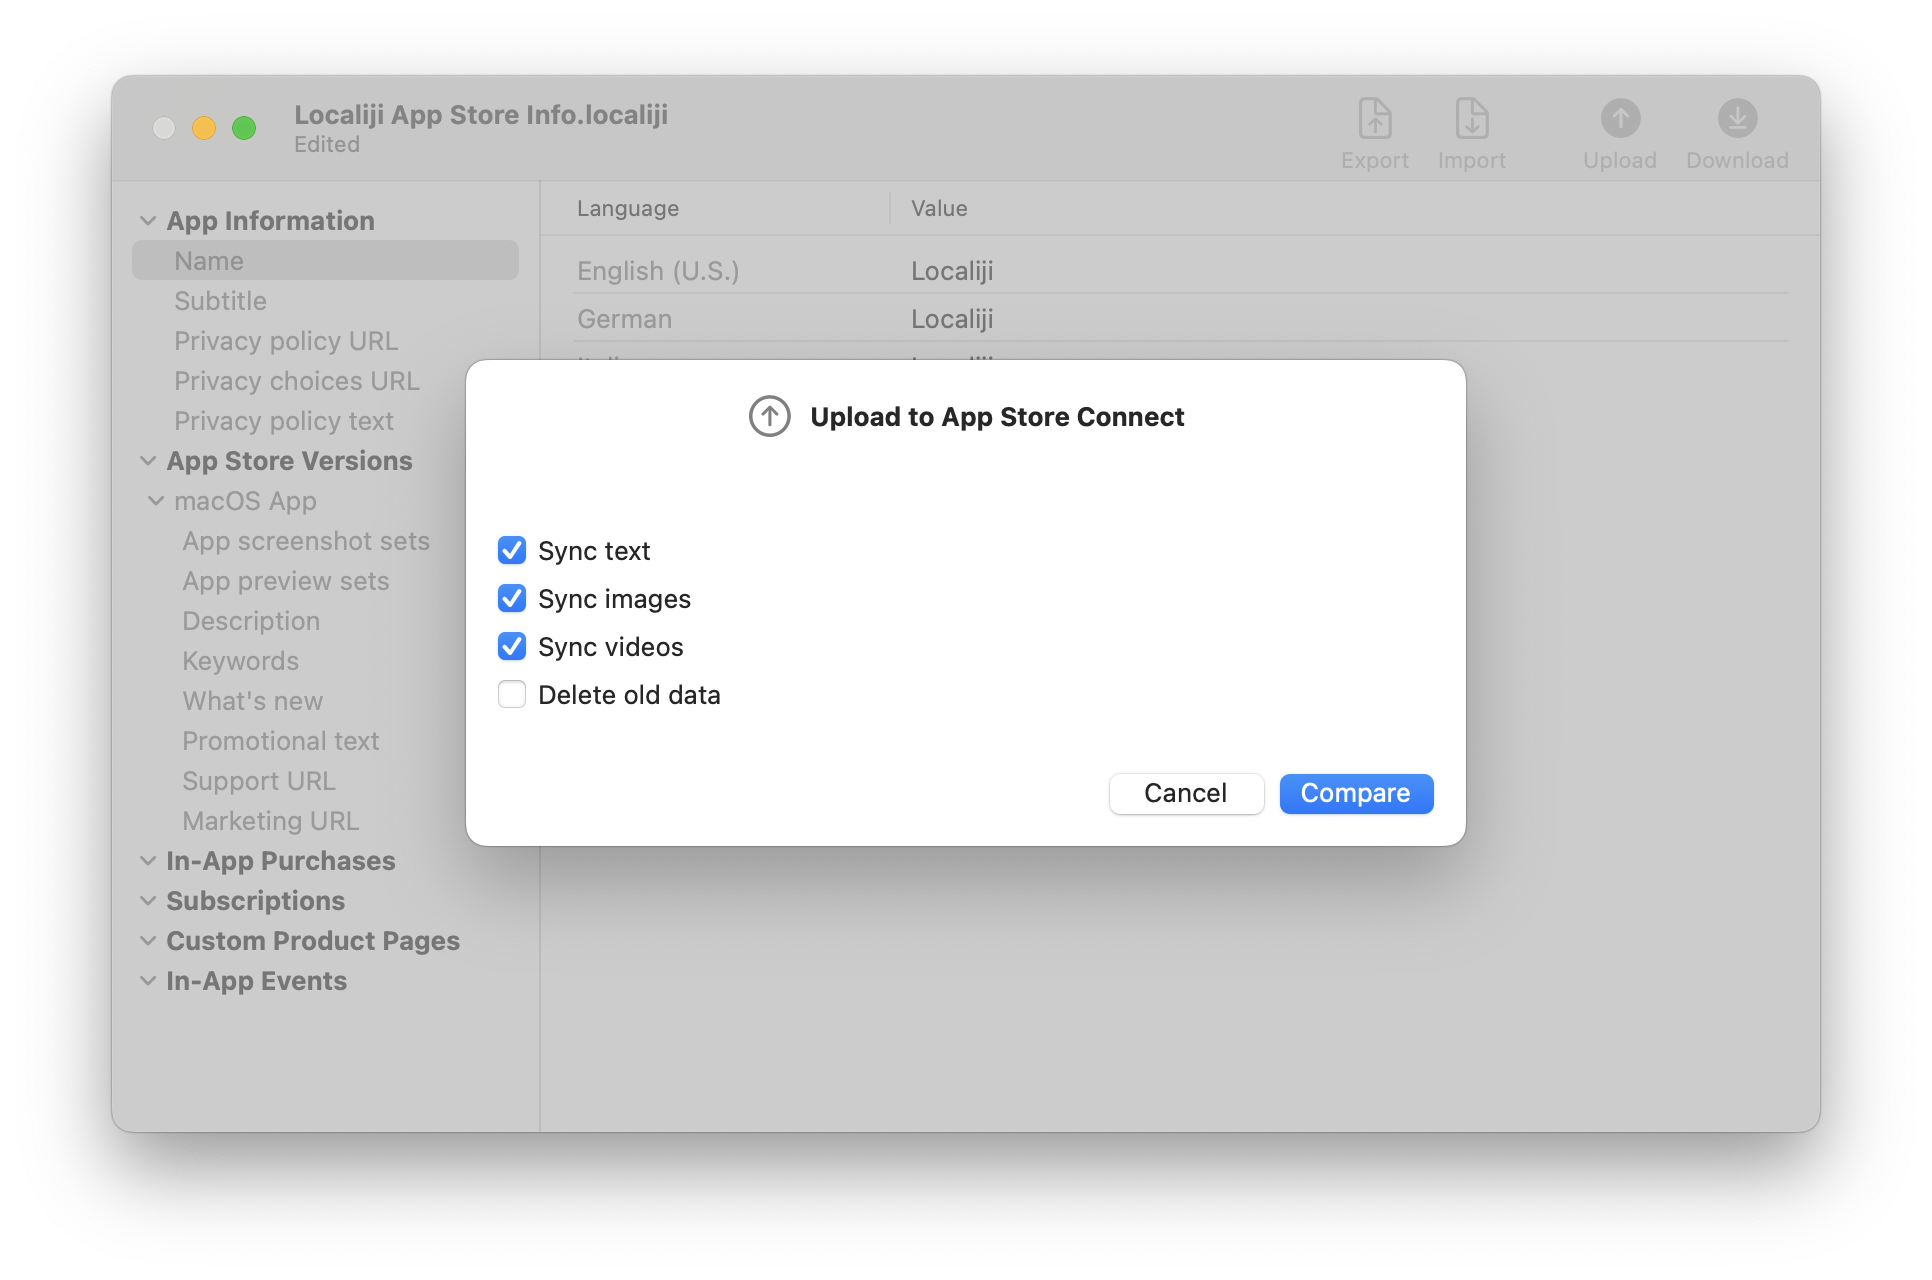
Click on the Upload toolbar button or select File > Upload to App Store Connect…
By default, when uploading data, the options to sync text, images and videos are selected, syncing any new or modified attribute. By enabling the option “Delete old data”, attributes that are not present in the Localiji document will be removed from App Store Connect.
Warning: if you previously uploaded app screenshots or previews through the App Store Connect website and didn’t add them to the Localiji document yet, enabling “Sync images”, “Sync videos” and “Delete old data” will effectively remove the app screenshots and previews from App Store Connect. Only enable “Delete old data” if the Localiji document is the source of truth for all data that should appear in App Store Connect.
Click Compare.
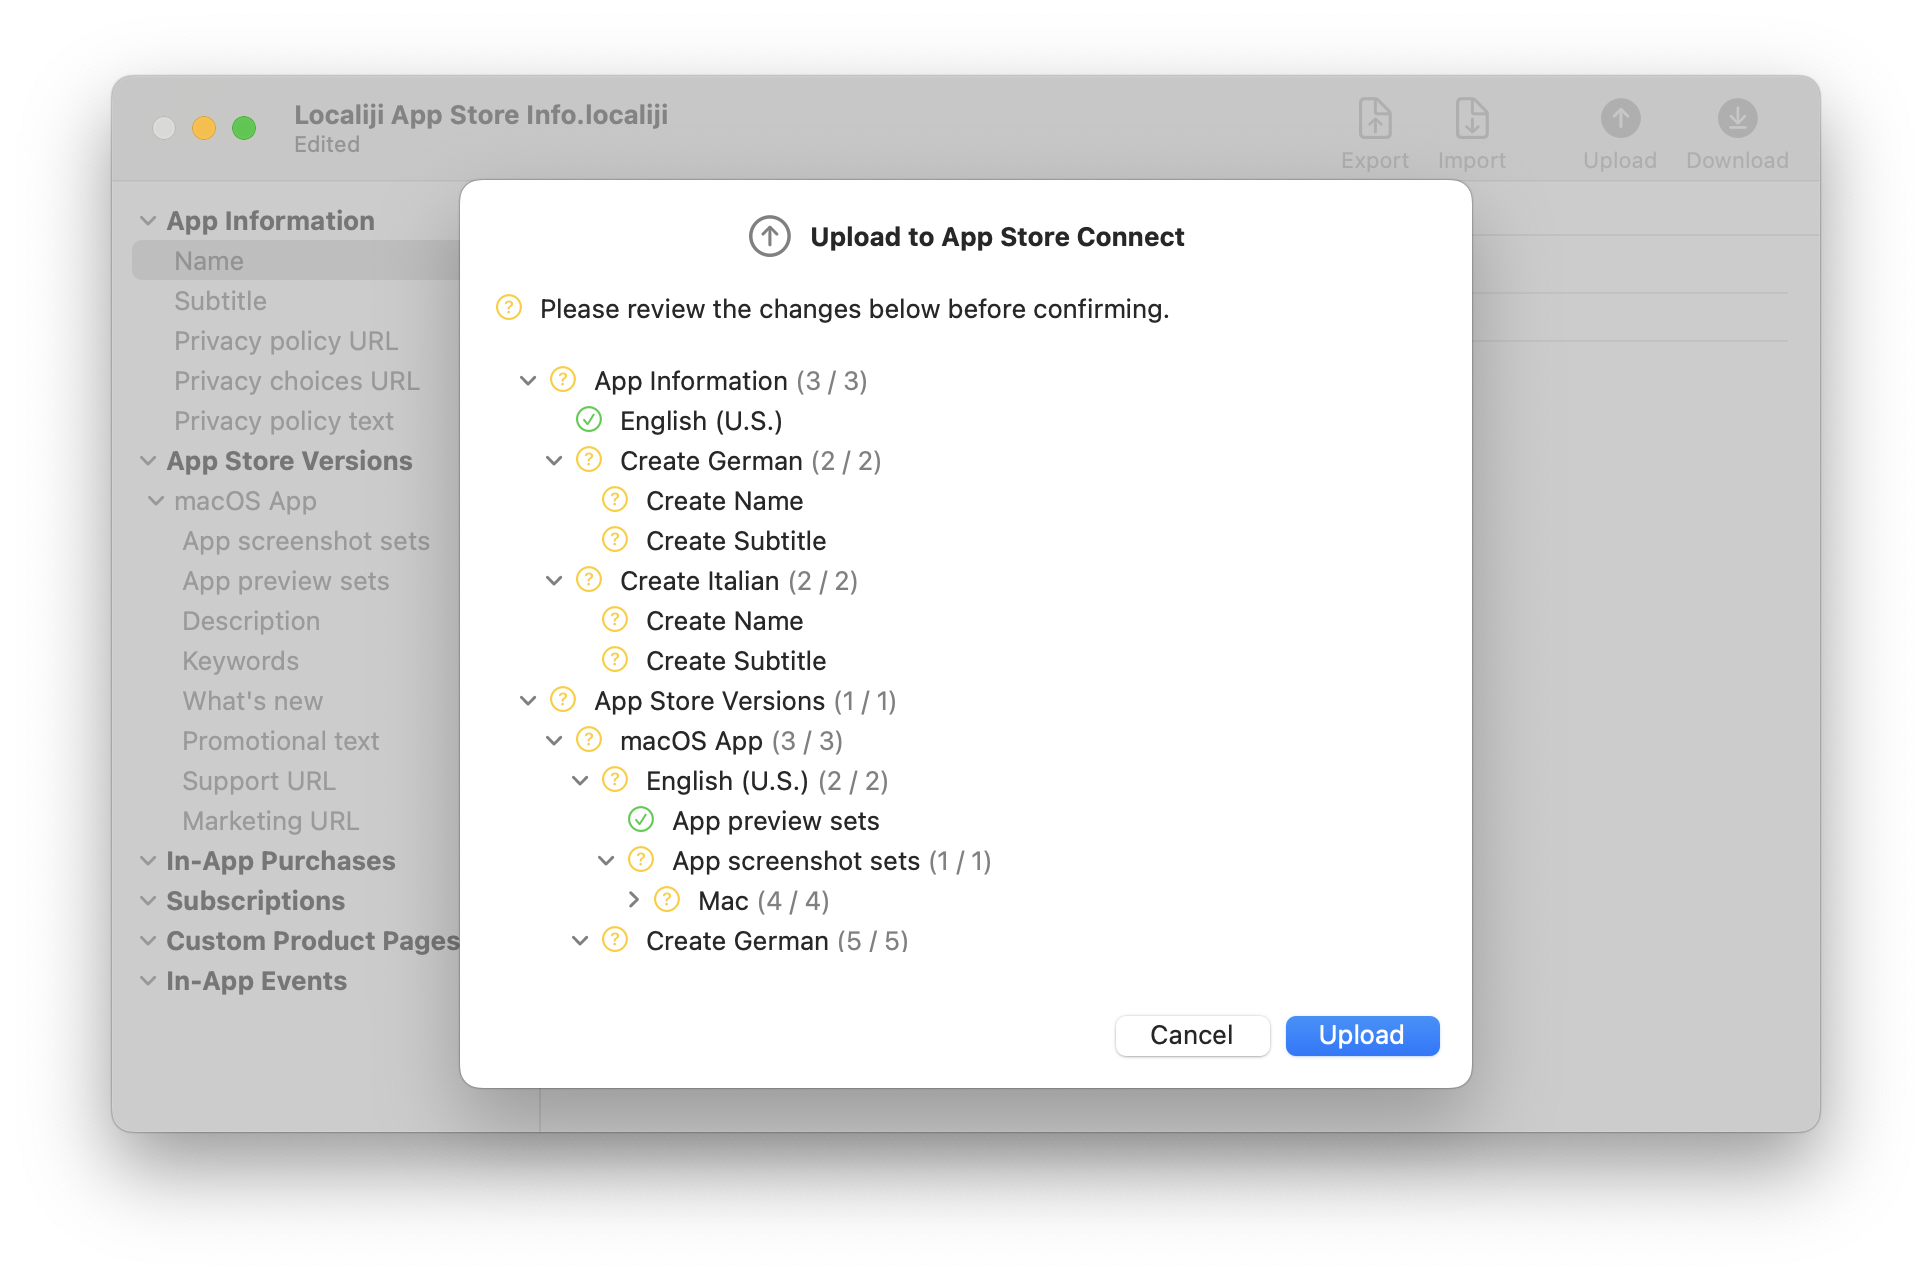
It may take a few seconds for Localiji to determine the differences between the local document and the data in App Store Connect. When the comparison has completed, you are presented with a list of all the data that will be synced. Similarly to the initial download process, you may select one or more entries and exclude them from this upload by opening the context menu and selecting Remove from list or pressing the Delete key.
Click Upload.
If any errors happen during the sync, they will be shown below the corresponding entry in the sync dialog. If all goes well, you will see a green checkmark on all entries and on the summary at the top.
Click Close.