Use sync groups to create lists of sync items and nested groups and run them either sequentially or concurrently with the click of a button.
Add a sync group
In the sidebar, click the + button to add a new sync group.
Remove a sync group
- Select the sync group in the sidebar.
- Click the three-dots button to the right of the sync group name.
- Select Remove Sync Group.
Add a step
Sync item
To add an existing sync item to a sync group:
- Select All sync items in the sidebar, or select a sync group which already contains the sync item you want to add.
- Drag the sync item you want to add to the relevant sync group in the sidebar. Sync items that have already been added to the group will be disabled.
Alternatively, right-click the sync item to open the context menu, select Add to Sync Group and then select the destination sync group.
When you create a new sync item by clicking the + button in the toolbar at the top of the window and a sync group is already selected, the sync item will also be added to the sync group in addition to being added to the All sync items list.
Sync group
To add a sync group to another sync group:
- Select the first sync group in the sidebar.
- Click the three-dots button to the right of the sync group name.
- Select Add to Sync Group and then select the destination sync group. Sync groups that have already been added to the destination group, or that would cause a circular dependency, will be disabled.
Remove a step
To remove a sync item from a group, with the sync group selected in the sidebar, right-click the sync item to open the context menu and select Remove from Sync Group. The sync item will remain available in the All sync items list. To remove the sync item completely, right-click the sync item to open the context menu and select Remove Sync Item.
To remove a sync group from another group, with the second sync group selected in the sidebar, right-click the first sync group to open the context menu and select Remove from Sync Group.
Deactivate a step
Steps can be deactivated individually. Deactivated steps are skipped during a sync.
To deactivate a step, click the three-dots button beside the step to open the context menu and select Deactivate in Sync Group.
To activate a step again, click the three-dots button beside the step to open the context menu and select Activate in Sync Group.
Rename a sync group
- Select the sync group in the sidebar.
- Click the three-dots button to the right of the sync group name.
- Select Rename.
Reorder sync groups and steps
Sync groups can be reordered via drag and drop in the sidebar.
Steps within a sync group can be reordered via drag and drop.
Execution mode
The execution mode determines whether the steps are run sequentially (one after the other) or concurrently (in parallel).
- Select the sync group in the sidebar.
- Click the three-dots button to the right of the sync group name.
- Select Execution Mode, then the desired option.
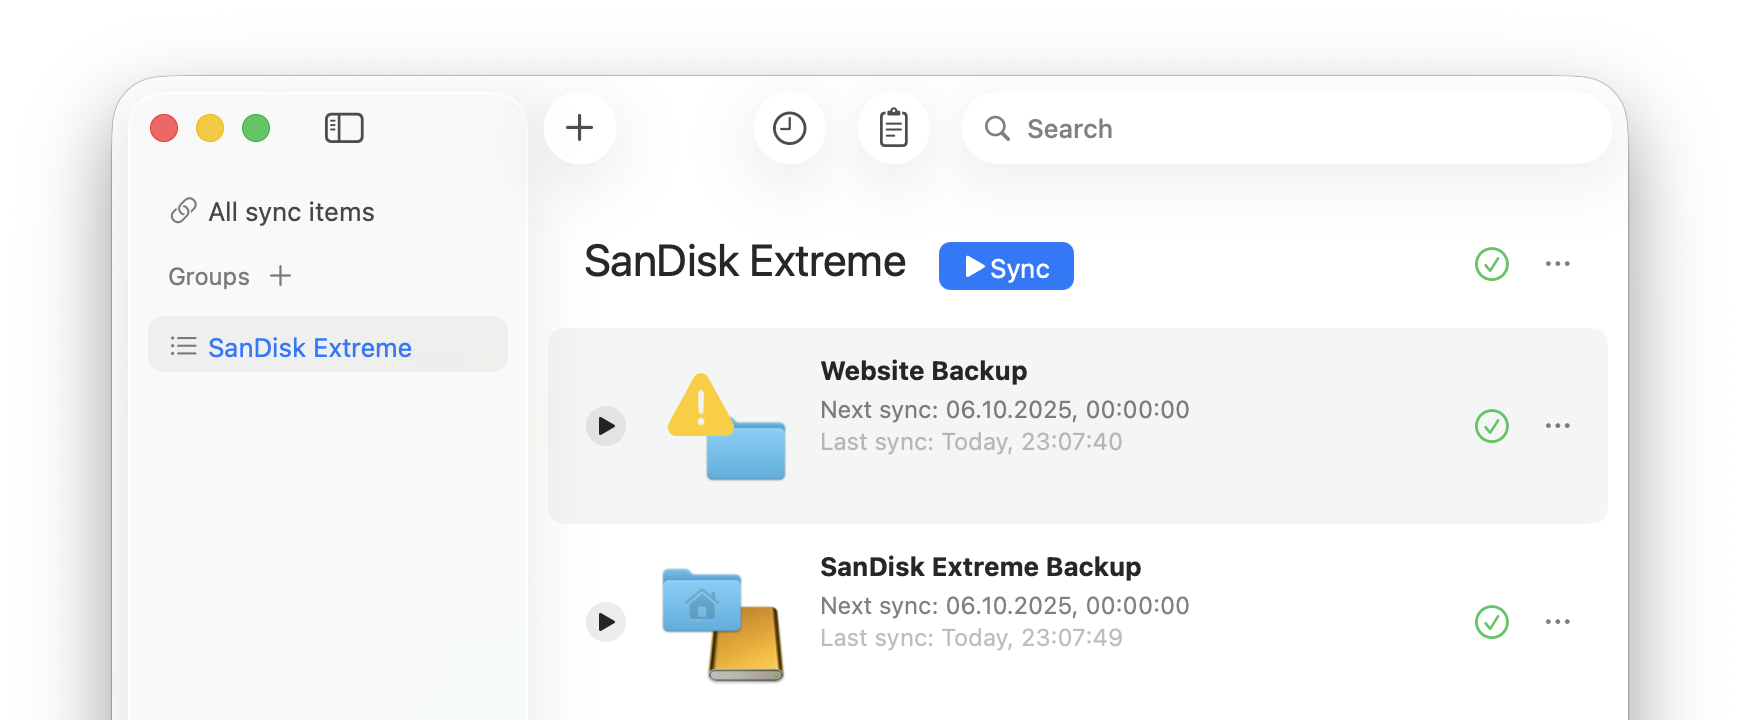
Sync and cancel
To run a sync group, do any of the following:
- Select the sync group in the sidebar and press the Sync button beside the sync group name in the main window area.
- In the status item menu, select Run Group, then select the corresponding sync group name.

After starting a sync group, its status icon is temporarily replaced by a progress indicator. If the execution mode is sequential, it shows the current step and the total number of steps; if the execution mode is concurrent, it shows the number of completed steps and the total number of steps.
If one of the steps in the sync group is cancelled, the sync group remains in the running state. The cancelled step can be resumed and completed later; if the execution mode is sequential, the sync group will continue with the next step.
To cancel a sync group, click the Cancel button beside the sync group name in the main window area. On the next sync, it will start again from the first step.